Lab Me Logo

At-Home Complete Blood Count

At-Home Complete Blood Count

In Stock • Free Shipping

A complete blood count is used to evaluate your overall health and can assist medical professionals in the detection of a wide range of disorders, including anemia, infection, and some cancers.

Online & PDF results are typically available 2-3 days after our lab receives your test.

Note: Our at-home CBC is not a diagnostic test and cannot confirm any specific illness or disease. Further testing and medical consultation may be required to determine the cause of abnormal results.

What tests are included?
  • Red Blood Cell Count (RBC),
  • Hematocrit,
  • Hemoglobin,
  • Red Cell Distribution Width (RDW),
  • White Blood Cell Count (WBC),
  • Eosinophils,
  • Neutrophils,
  • Lymphocytes,
  • Monocytes,
  • Mean Corpuscular Volume (MCV),
  • Mean Hemoglobin Volume (MHV),
  • Platelets ,
Collection Method
$129
Buy Test
9031502889246
Warning: Trying to access array offset on value of type bool in /www/labme_344/public/wp-content/plugins/advanced-custom-fields-pro/includes/api/api-template.php on line 471

If purchasing for two people, it’s required to create their account to order.

All Lab Me tests are performed by high-complexity CLIA certified and CAP-accredited laboratories.


Premium At-Home Blood Tests From Lab Me

All Premium Test Kits From Lab Me Come In A HIPPA Secure PDF Format With Functional Medicine Physician Reviewed Recommendations. You Are Able To Ask Our Medical Team As Many Questions As You Want Regarding Your Results.

Who Should Consider Taking This At-Home Complete Blood Count ?

If you’re wondering how to review your overall health,  at home, and self-monitor a medical condition or treatment, the Lab Me at-home complete blood count is a perfect place to start.

Maybe you are worried or want to take control of your health, no matter the case Lab Me is here to help.

All Lab Me tests are performed by high complexity CLIA and CAP licensed laboratories undergoing routine audits.

Always share your results with your personal doctor - having tracked blood data can help your healthcare team make accurate decisions faster.

Symptoms and Reasons to Test
Normal Ranges
Why track?
Should I take the test?
Additional Info

Symptoms and Reasons to Test

An At-Home Complete Blood Count Test With Medical Supervision Is Encouraged If You:

  • Want a routine way to monitor your general health
  • Want to screen alongside a medical professional for for a variety of disorders, such as anemia or leukemia.
  • Are experiencing weakness, fatigue, fever, inflammation, bruising or bleeding.
  • Have been diagnosed with a blood disorder that affects blood cell counts
  • Want monitor your health if you're taking medications that may affect blood cell counts.
  • You suspect a blood disease, infection, immune system and disorder, or other medical conditions
  • Want to keep track of an existing blood disorder

You do not need to fast prior to this test but it is recommended to take it first in the morning prior to breakfast.

Normal Ranges

Why Track?

Regular testing of biomarkers can act as an early detection system. Especially if you're not getting enough sleep, have improper nutrition, substandard training, unwise lifestyle choices or weak bone health. Lab Me helps by detecting non-optimal levels of blood biomarkers . For example high levels of cortisol which is an indicator of stress.

FIND OUT MORE ON WHY YOU SHOULD TRACK

Should I Take The Test?

Additional Info

Biomarkers tested


Red Blood Cell Count (RBC)
RBCs carry oxygen throughout the body and remove excess carbon dioxide. Too few RBCs may be a sign of anemia or other diseases. In rare cases, too many may cause problems with blood flow.

Hematocrit
This means the portion of red blood cells in a certain amount of whole blood. A low hematocrit may be a sign of too much bleeding. Or it might mean that you have iron deficiency or other disorders. A higher than normal hematocrit can be caused by dehydration or other disorders.

Hemoglobin
Hemoglobin is a protein in red blood cells. It carries oxygen from your lungs to the rest of the body. Abnormalities can be a sign of problems ranging from anemia to lung disease.

White Blood Cell Count
Including Eosinophils, Neutrophils, Lymphocytes, & Monocytes, All play a role in fighting infections. High numbers of WBCs, or of a specific type of WBC, may mean you have an infection or inflammation somewhere in your body. Low numbers of WBCs may mean you are at risk for infections.

RDW
How the size of your red blood cells varies. This test is known as red cell distribution width. For instance, you may have greater differences in red blood cell size if you have anemia.

Platelets
Platelets are cell fragments that play a role in blood clotting. Too few platelets may mean you have a higher risk of bleeding. Too many may mean a number of possible conditions.

MCV
This test is known as mean corpuscular volume (MCV). MCV goes up when your red blood cells are bigger than normal. This happens if you have anemia caused by low vitamin B12 or folate levels. If your red blood cells are smaller, this can mean other types of anemia, such as iron deficiency anemia.

MCH
This test measures how much hemoglobin your red blood cells have.
How to collect your sample

Lab Me’s at home test kits include everything you need for collection and can be ordered online. When your sample has been collected and allowed to dry completely, return the dried strips and completed paperwork in the pre-addressed, pre-paid packaging and mailer bag provided with the kit. Once Lab Me has received your sample, results will be returned to you and/or your health care provider in approximately 5 to 7 business days.
Urine
Saliva
Finger Prick

Urine Collection

STEP ONE

Good Practice

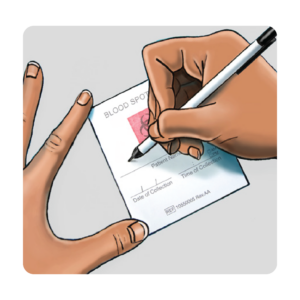
  1. At each collection time: Remove a collection card from the pink bag.
  2. Save this bag with the absorvent puch. Write your name, the date and time of collection on the card prior to collecting the sample.
STEP TWO

Set Up To Collect

  1. Open the cover on the collection card. Fold it back and away from the filter paper. Avoid touching the filter paper
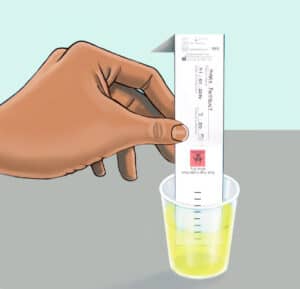
  2. Saturate the filter paper by directly urinating onto it, or by collecting your urine in a clean cup and dipping the filter paper up to the top black dash line
STEP THREE

Dry Sample

  1. Soak your non-dominant hand in warm water for 1-2 minutes. Dry it well. It's important your hands are warm
  2. Wipe the little finger of your non-dominant hand with the alcohol swab and let it dry
  3. The best place to use the lancet is on the outer center of your fingertip
STEP FOUR

After Collection

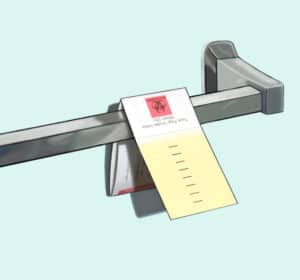
  1. Allow to dry completely for at least 6 hours*. 
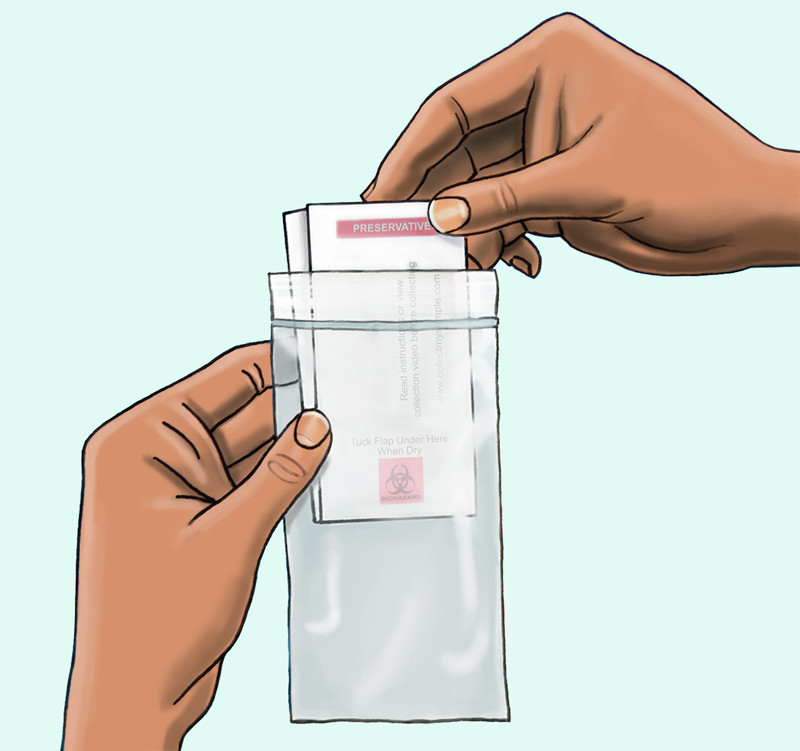
  2. Once dry, refold the collection card and place the sample back into the baggie and seal. 
  3. Make sure absorvent puch is still inside. 
  4. Follow the same process for the remaining three samples. 
STEP FIVE

Finishing Up

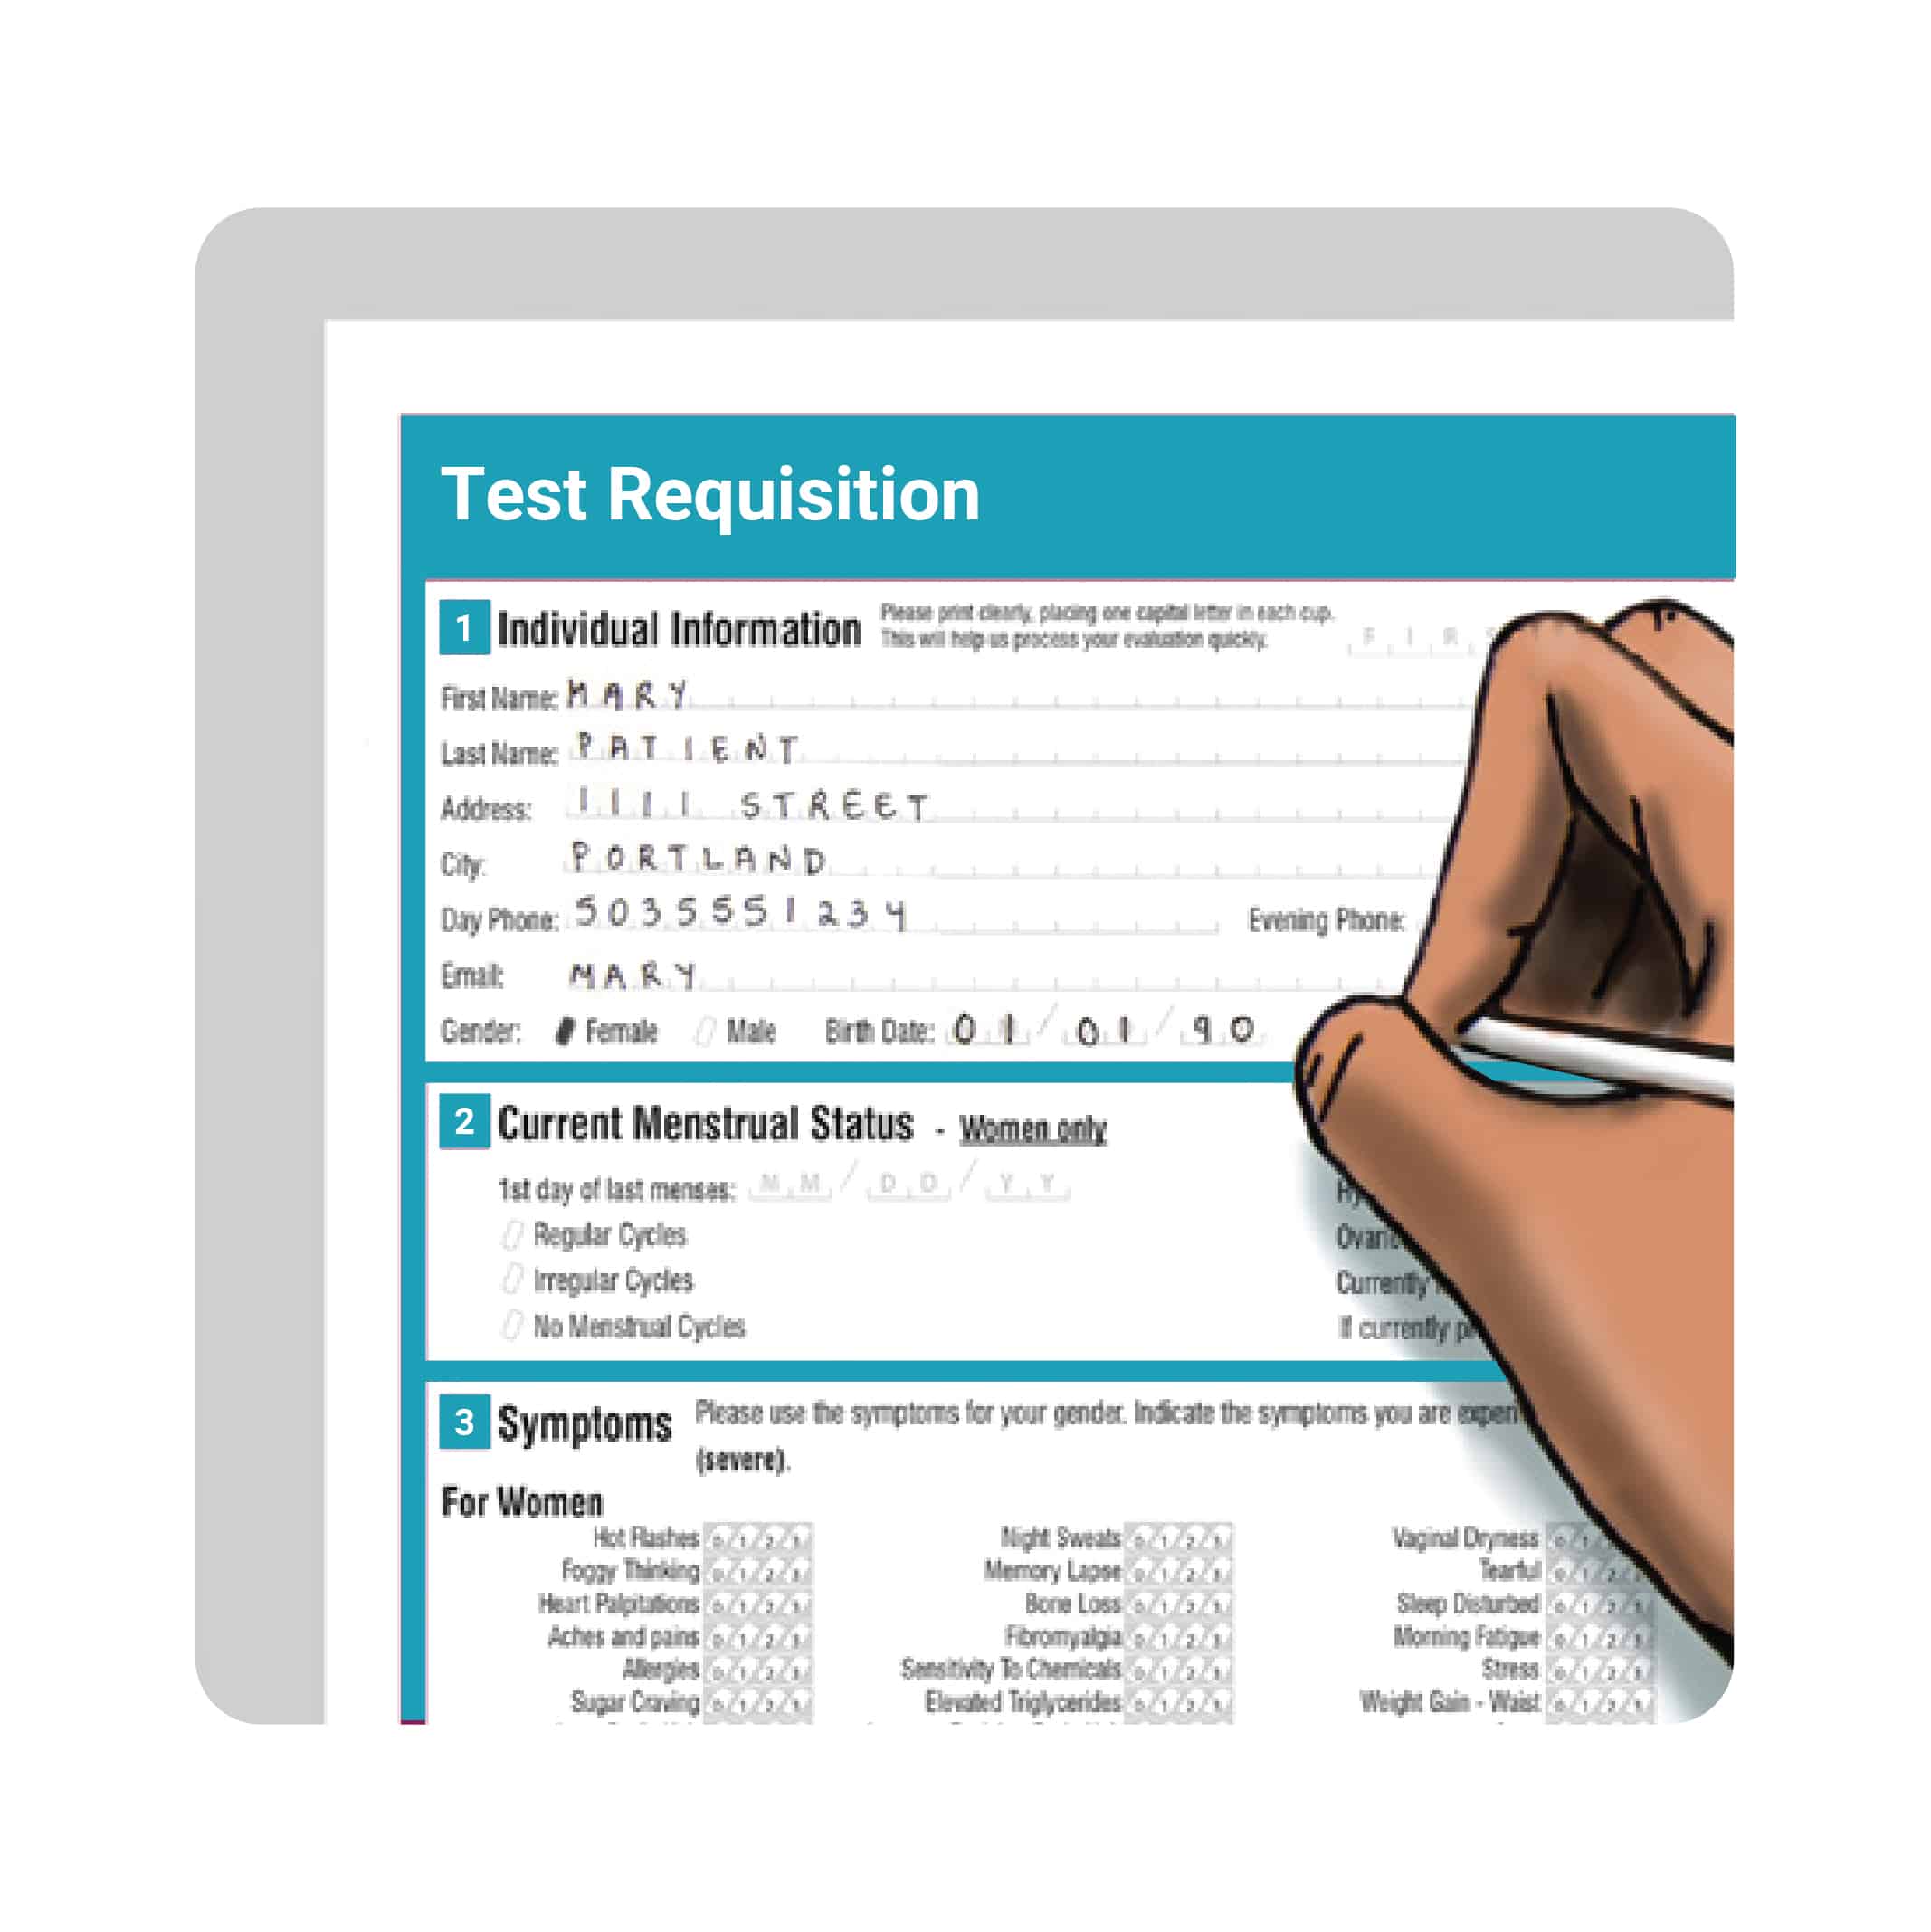
  1. Complete all paperwork. Make sure all sections are filled in and your form is signed
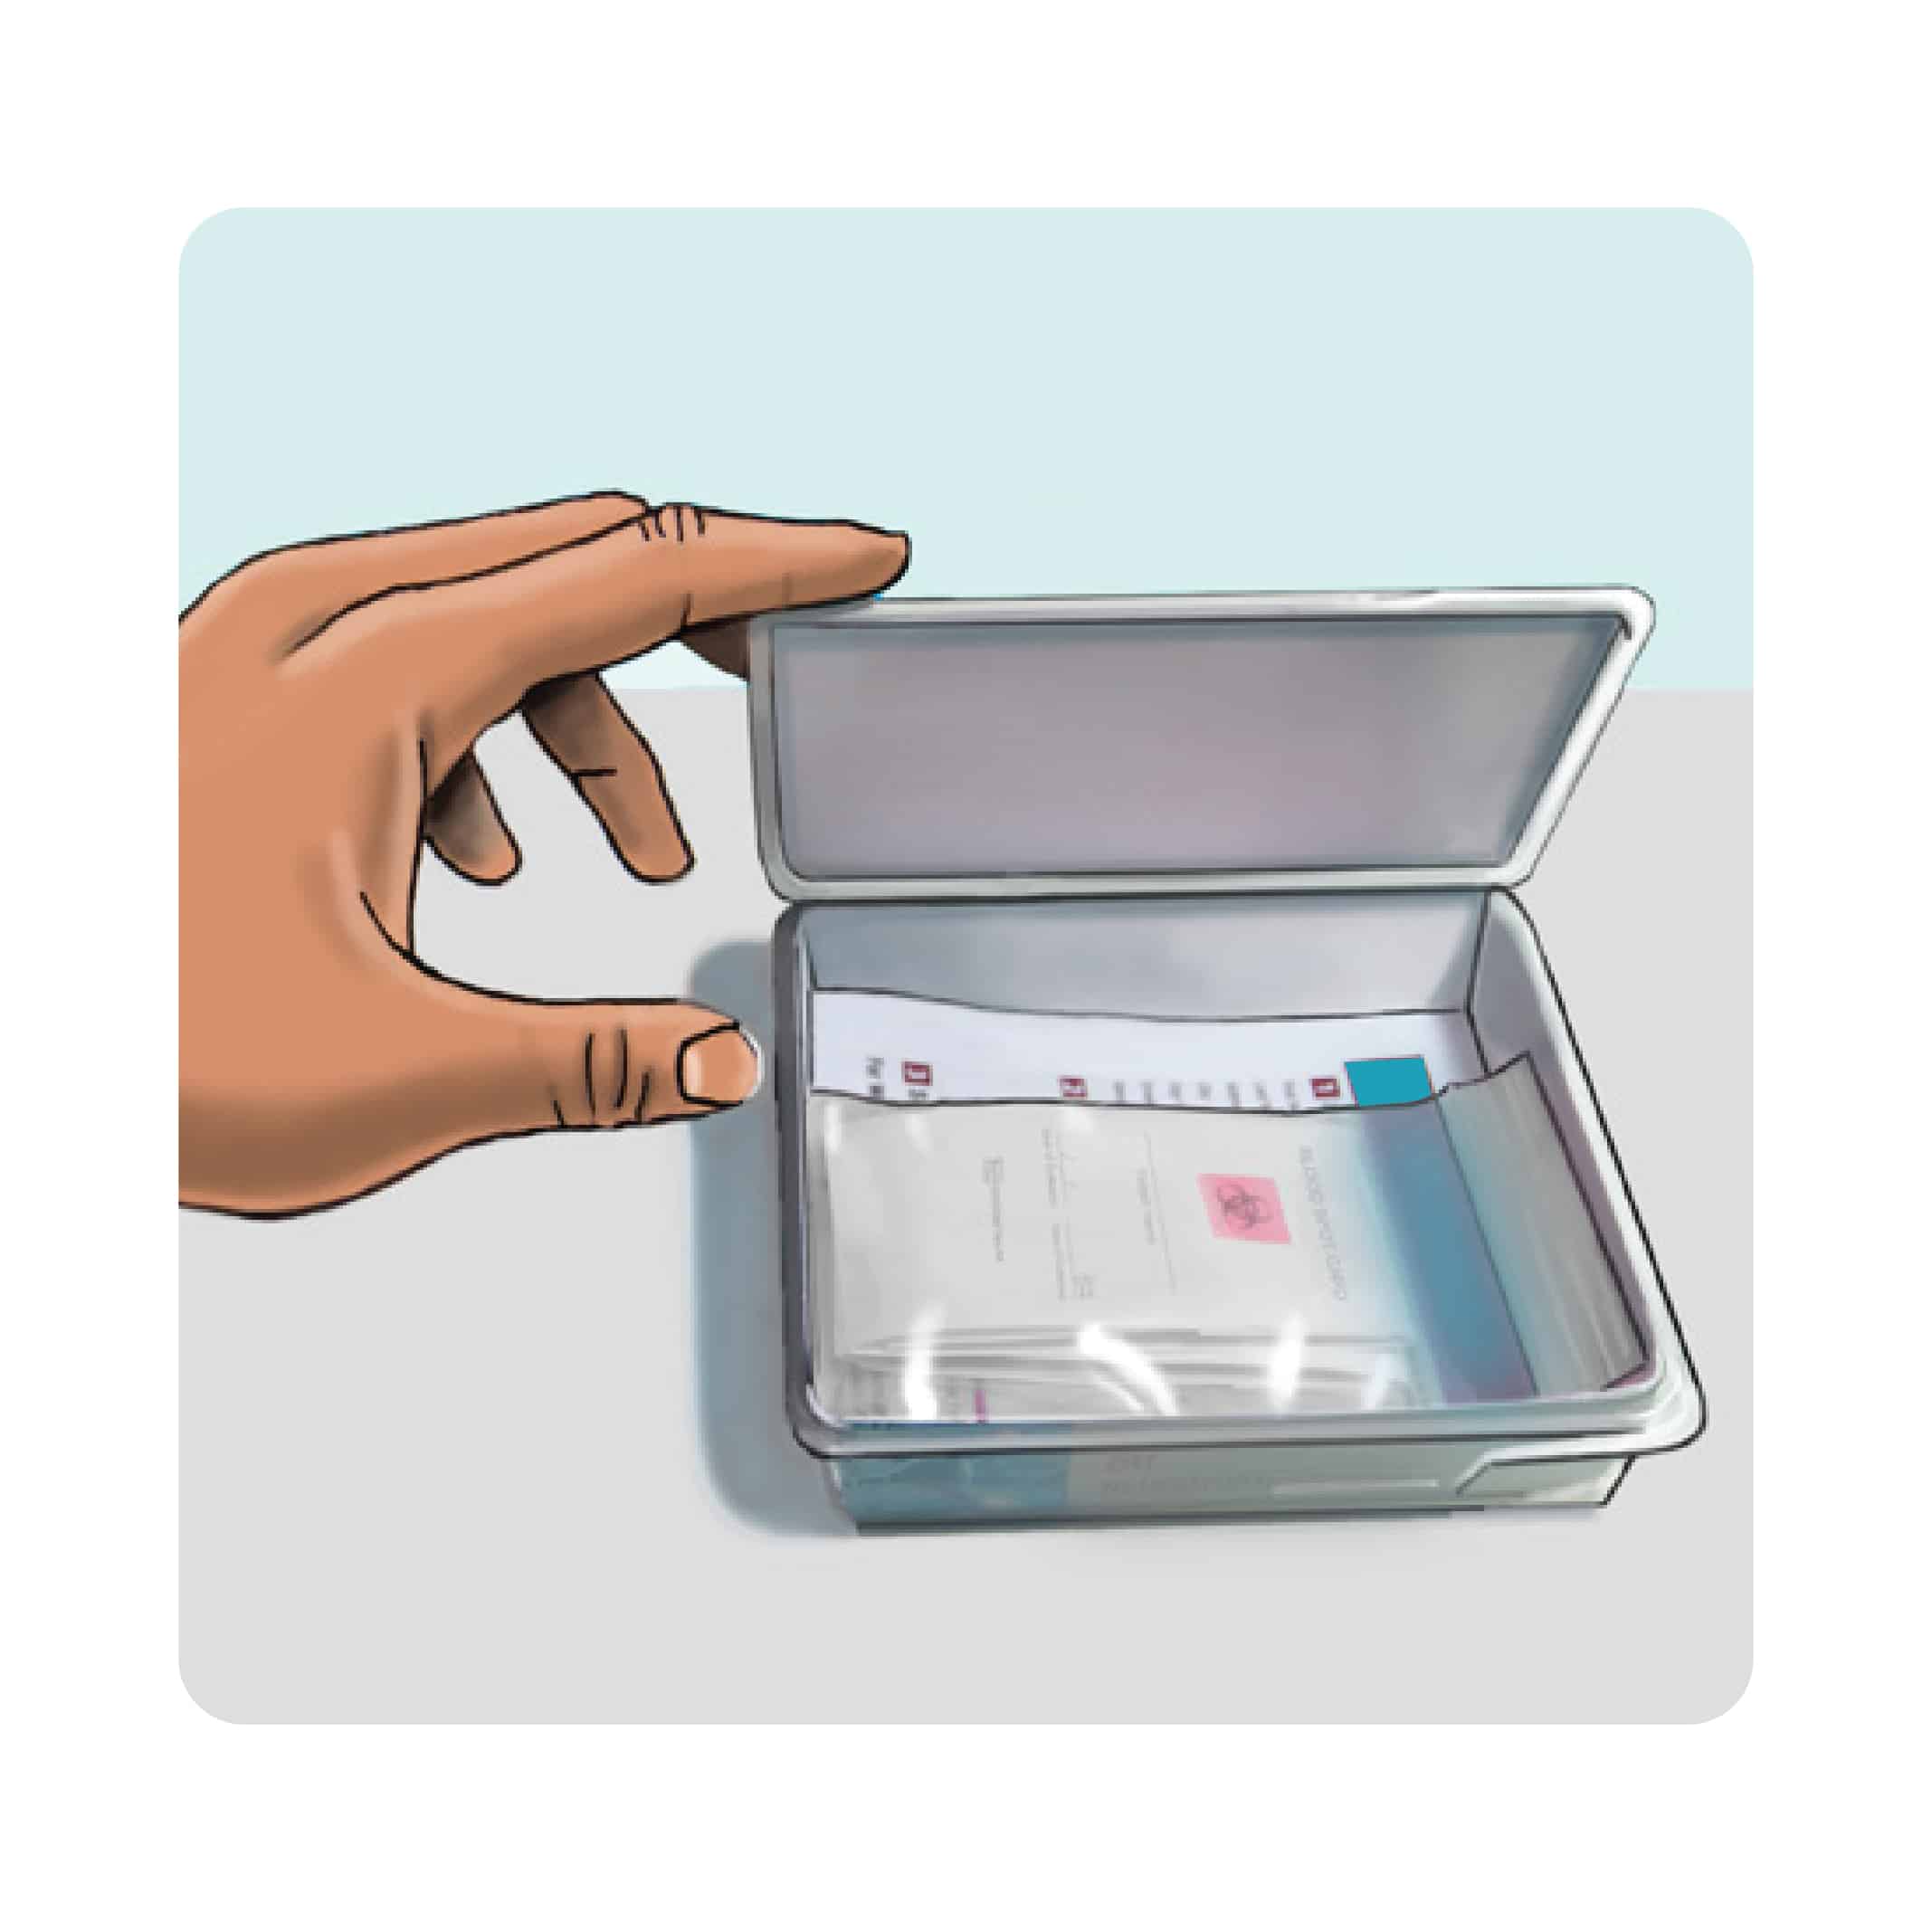
  2. Place the sample(s), the Test Requisition form and any additional paperwork back into the plastic test kit box
  3. Make sure to include payment (if applicable)
  4. Snap test kit lid shut
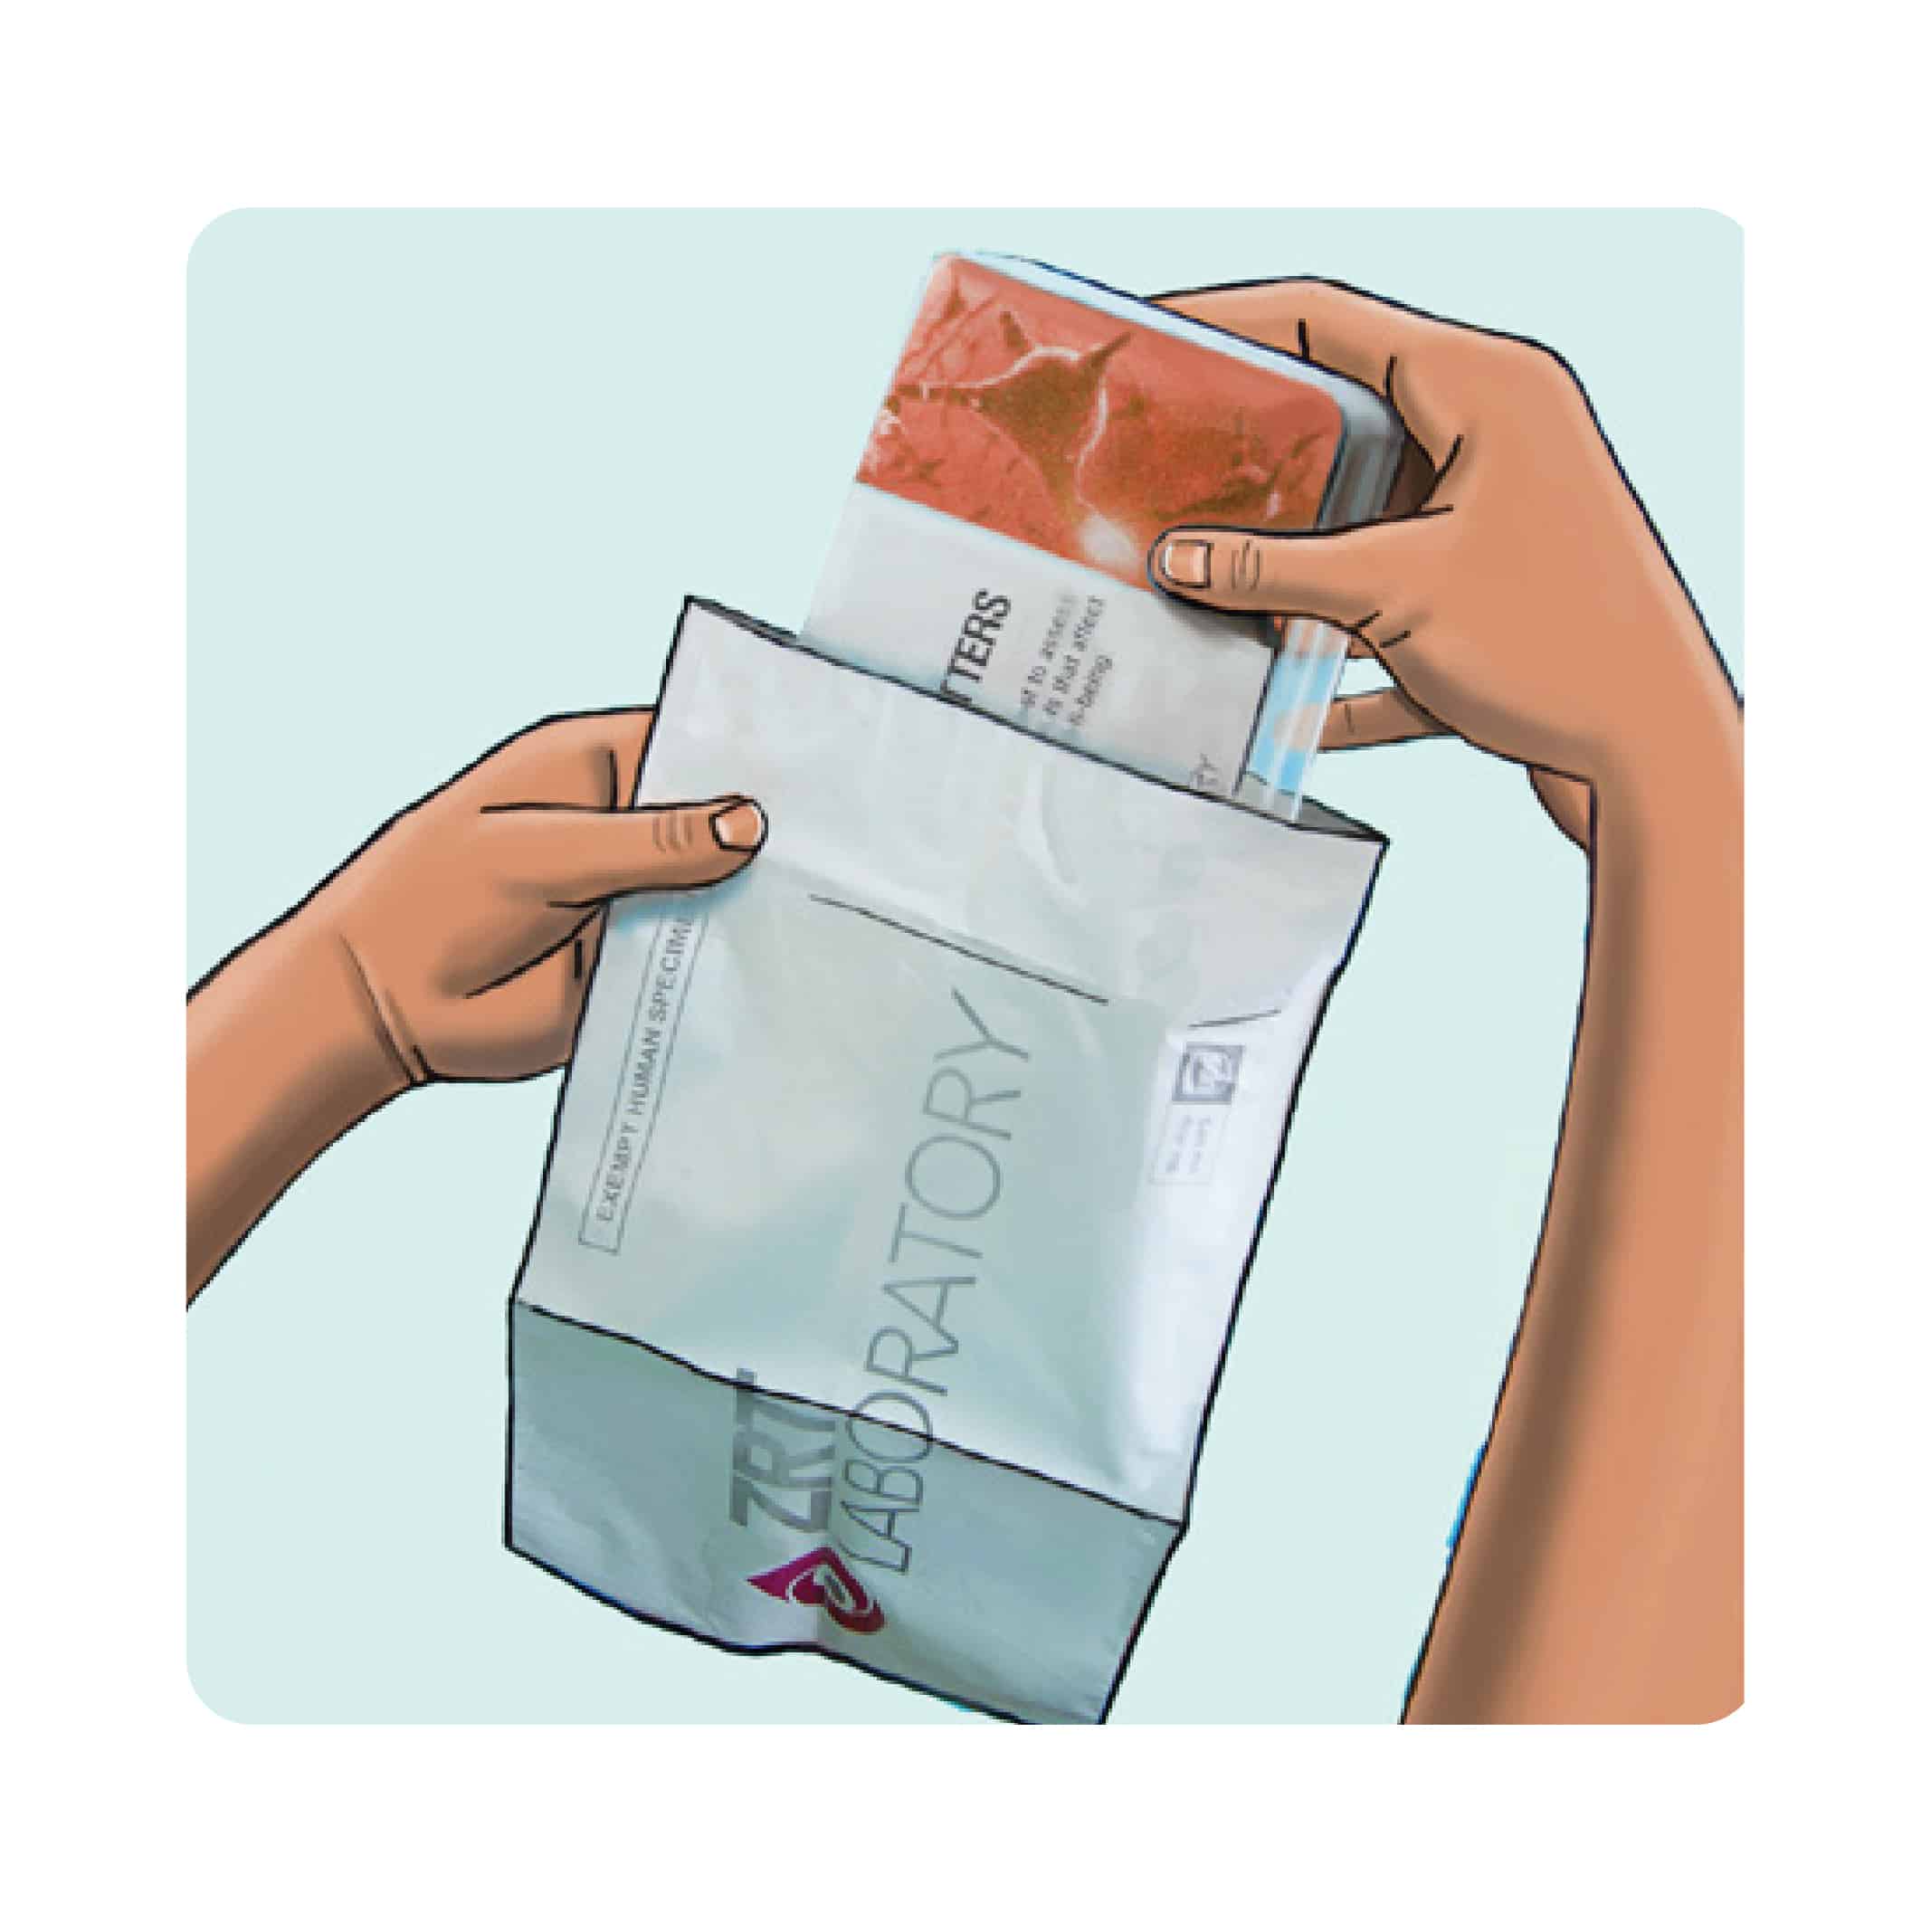
  5. Place the entire test kit box inside the return packaging
  6. Affix the prepaid label or postage if applicable
  7. Return using the appropriate carrier
  8. Samples will remain stable under average shipping conditions, including over weekends and holidays

Urine Collection PDF Version

Download our pdf version for compact version

Saliva Collection

STEP ONE

Good Practice

  1. Begin collecting your first saliva sample into the large tube within 30 minutes of waking for the day.
  2. Wash hands with soap and water
  3. Rinse your mouth with water
  4. Wait 5 minutes before beginning collection
STEP TWO

Fill Collection Device

  1. Allow saliva to pool in mouth, then transfer to tube
  2. Fill tube at least half full, not including bubbles
  3. Collection usually takes 15-30 minutes depending on saliva flow
  4. When done, cap the tube
STEP THREE

Complete

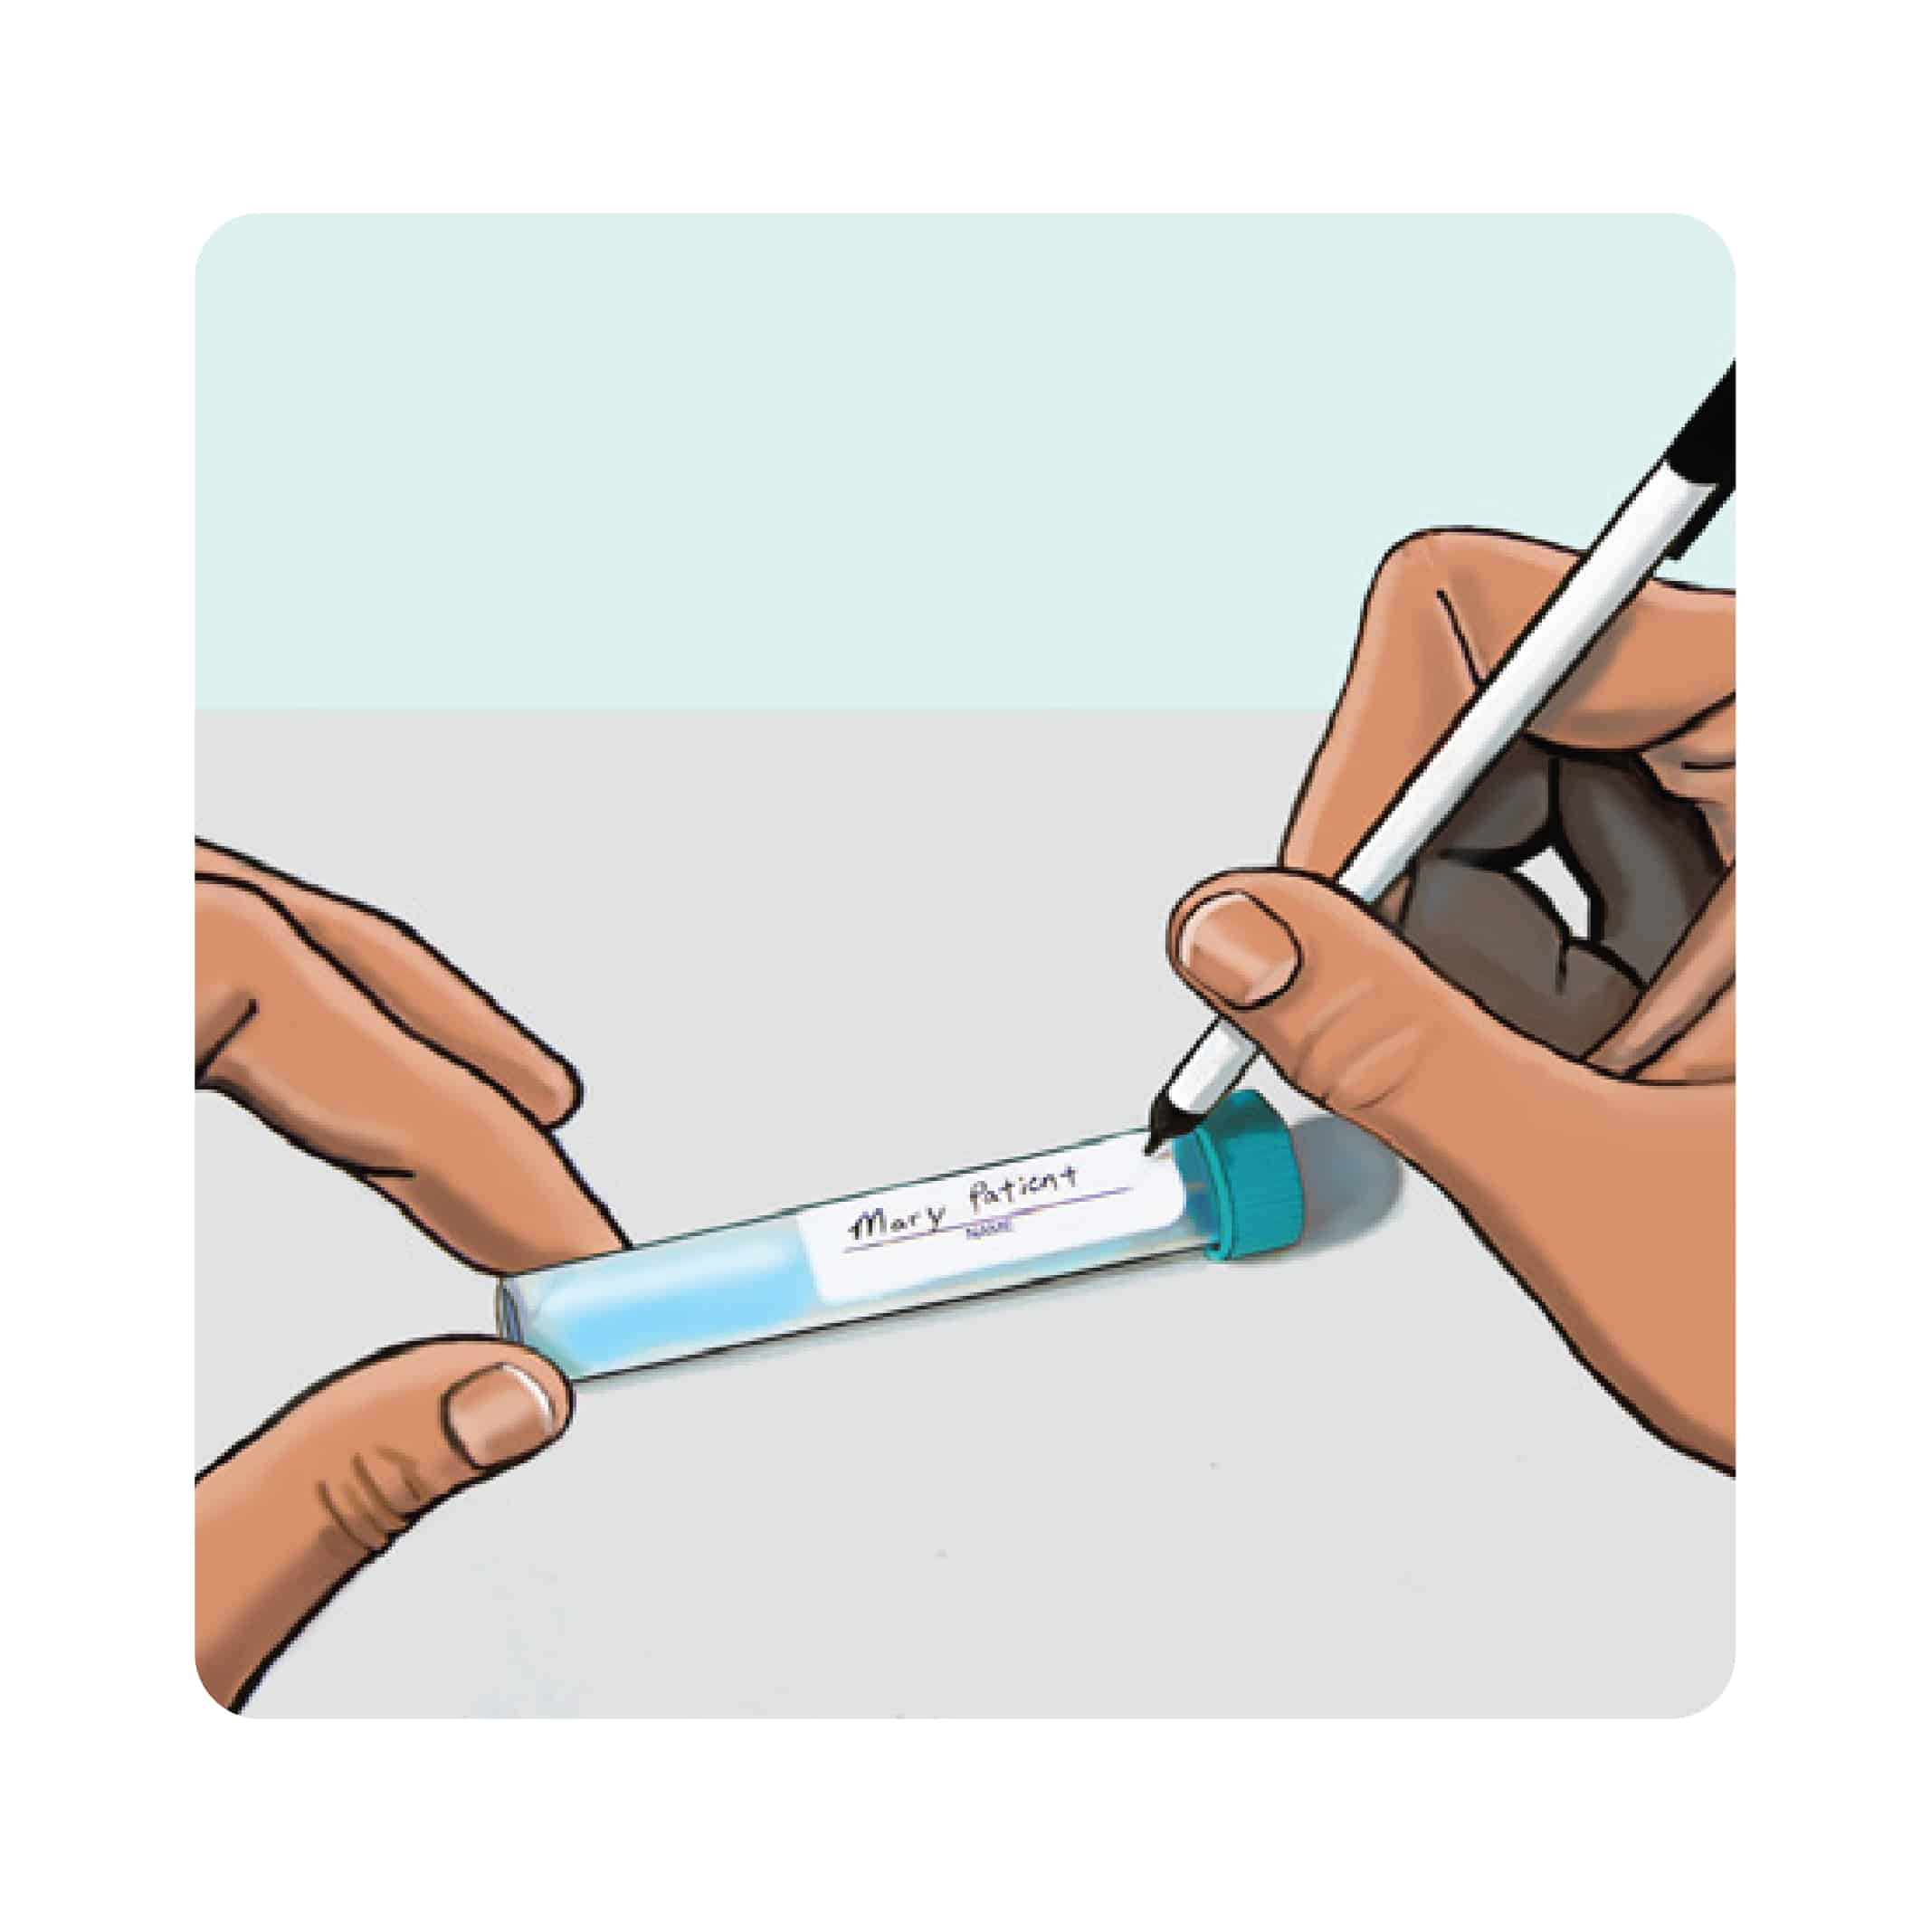
  1. Write your name, the date and time of collection on the tube
  2. Place the tube back into the bag
STEP FOUR

Repeat The Process

  1. Repeat this process for any other collection times using the smaller tubes provided
  2. Do not eat, drink (except water) or brush teeth at least 2 hours prior to collections
STEP FIVE

Finishing Up

  1. Complete all paperwork. Make sure all sections are filled in and your form is signed
  2. Place the sample(s), the Test Requisition form and any additional paperwork back into the plastic test kit box
  3. Make sure to include payment (if applicable)
  4. Snap test kit lid shut
  5. Place the entire test kit box inside the return packaging
  6. Affix the prepaid label or postage if applicable
  7. Return using the appropriate carrier
  8. Samples will remain stable under average shipping conditions, including over weekends and holidays

Saliva Colletion PDF Version

Download our pdf version for compact version

Blood Collection

STEP ONE

Good Practice

  1. Collect blood sample within 1 hour of waking.
  2. Wash hand with soap and water.
  3. Use a clean towel to dry hands.
  4. Make sure hands are warm and circulation is going.
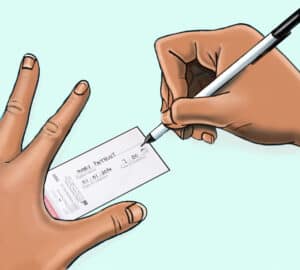
  5. Write your name, the date and time of collection on the card prior to collecting.
STEP TWO

Preparation

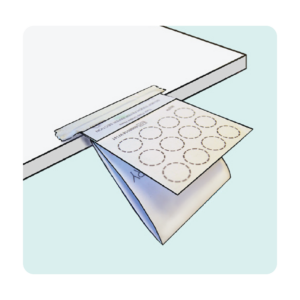
  1. Open the cover on the collection card.
  2. Fold it back and away from the filter paper.
  3. Avoid touching the filter paper.
  4. Tape card to a flat surface (table).
  5. Below heart at about waist level.
  6. Open the alcohol prep pad and sterile gauze.
  7. Middle or ring finger of non-dominant hand is recommended.
STEP THREE

To Collect

  1. Wipe finger with alcohol prep pad and allow to air dry.
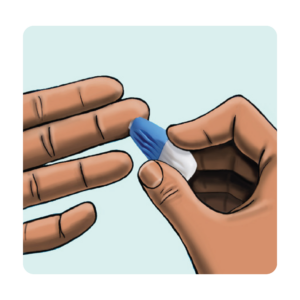
  2. Twist cap off lancet and press small white section firmly against the side of finger pad until lancet clicks.
  3. Wipe away the first blood drop with gauze.
STEP FOUR

Collection

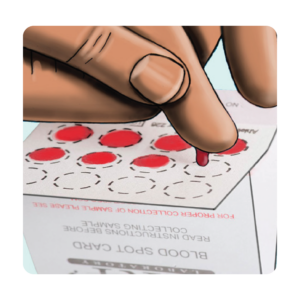
  1. Position finger over circle of blood spot card and gently milk (don’t squeeze) blood from the finger.
  2. Collect so that your hand is below your waist, allowing gravity to assist with blood flow.
  3. As blood drop forms and is ready to fall, touch the drop onto the center of the circle (one drop per circle).
  4. Continue collection, preferably until all circles have been filled – but it’s more important to have several good sized spots than to fill all the circles.
  5. When finished, apply bandages.
  6. Leave blood spot card open to dry – minimum 4 hours.
  7. Once somple is dry, close cover. Store card in a cool, dry location away from direct sunlight until it’s shipped.
STEP FIVE

Finishing Up

  1. Complete all paperwork. Make sure all sections are filled in and your form is signed.
  2. Place the sample, the Test Requisition form and any additional paperwork back into the plastic test kit box. Make sure to include payment (if applicable).
  3. Snap the kit lid shut.
  4. Place the entire test kit box inside the return packaging.
  5. Affix the prepaid label or postage if applicable. 
  6. Return using the appropriate carrier.
  7. Samples will remain stable under average shipping conditions, including over weekends and holidays.

Blood Collection PDF Version

Download our pdf version for compact version

This Is How

Lab Me Works

1

Get Your Lab Me Kit

Order online and choose how often you’d like a test. We’ll mail your kit and it’ll be in your hands within only a few days.

2

Perform Your Test

Your kit contains everything you need to test from home. When you’re done, use the pre-paid envelope to send it back

3

Rapid, Accurate Results

Once we receive the test and process it, the results will be on your dashboard within 48 hours.

Still not sure or confused?​

Our 24/7 Customer service ready to help you
CONTACT US
magnifiermenuquestion-circlearrow-right-circle