The Lab Me At Home Metal Toxicity Test uses ICP-MS, the gold standard for element analysis, which allows for high specificity and sensitivity into the parts-per-trillion.
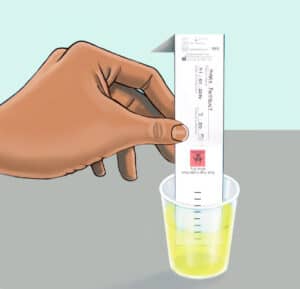
Exposure to dangerous heavy metals or insufficiency of nutritional elements affects health profoundly. Testing elements in the most appropriate sample type is important for proper assessment. The Lab Me at-home metal toxicity test is an excellent way to detect dangerous exposure.
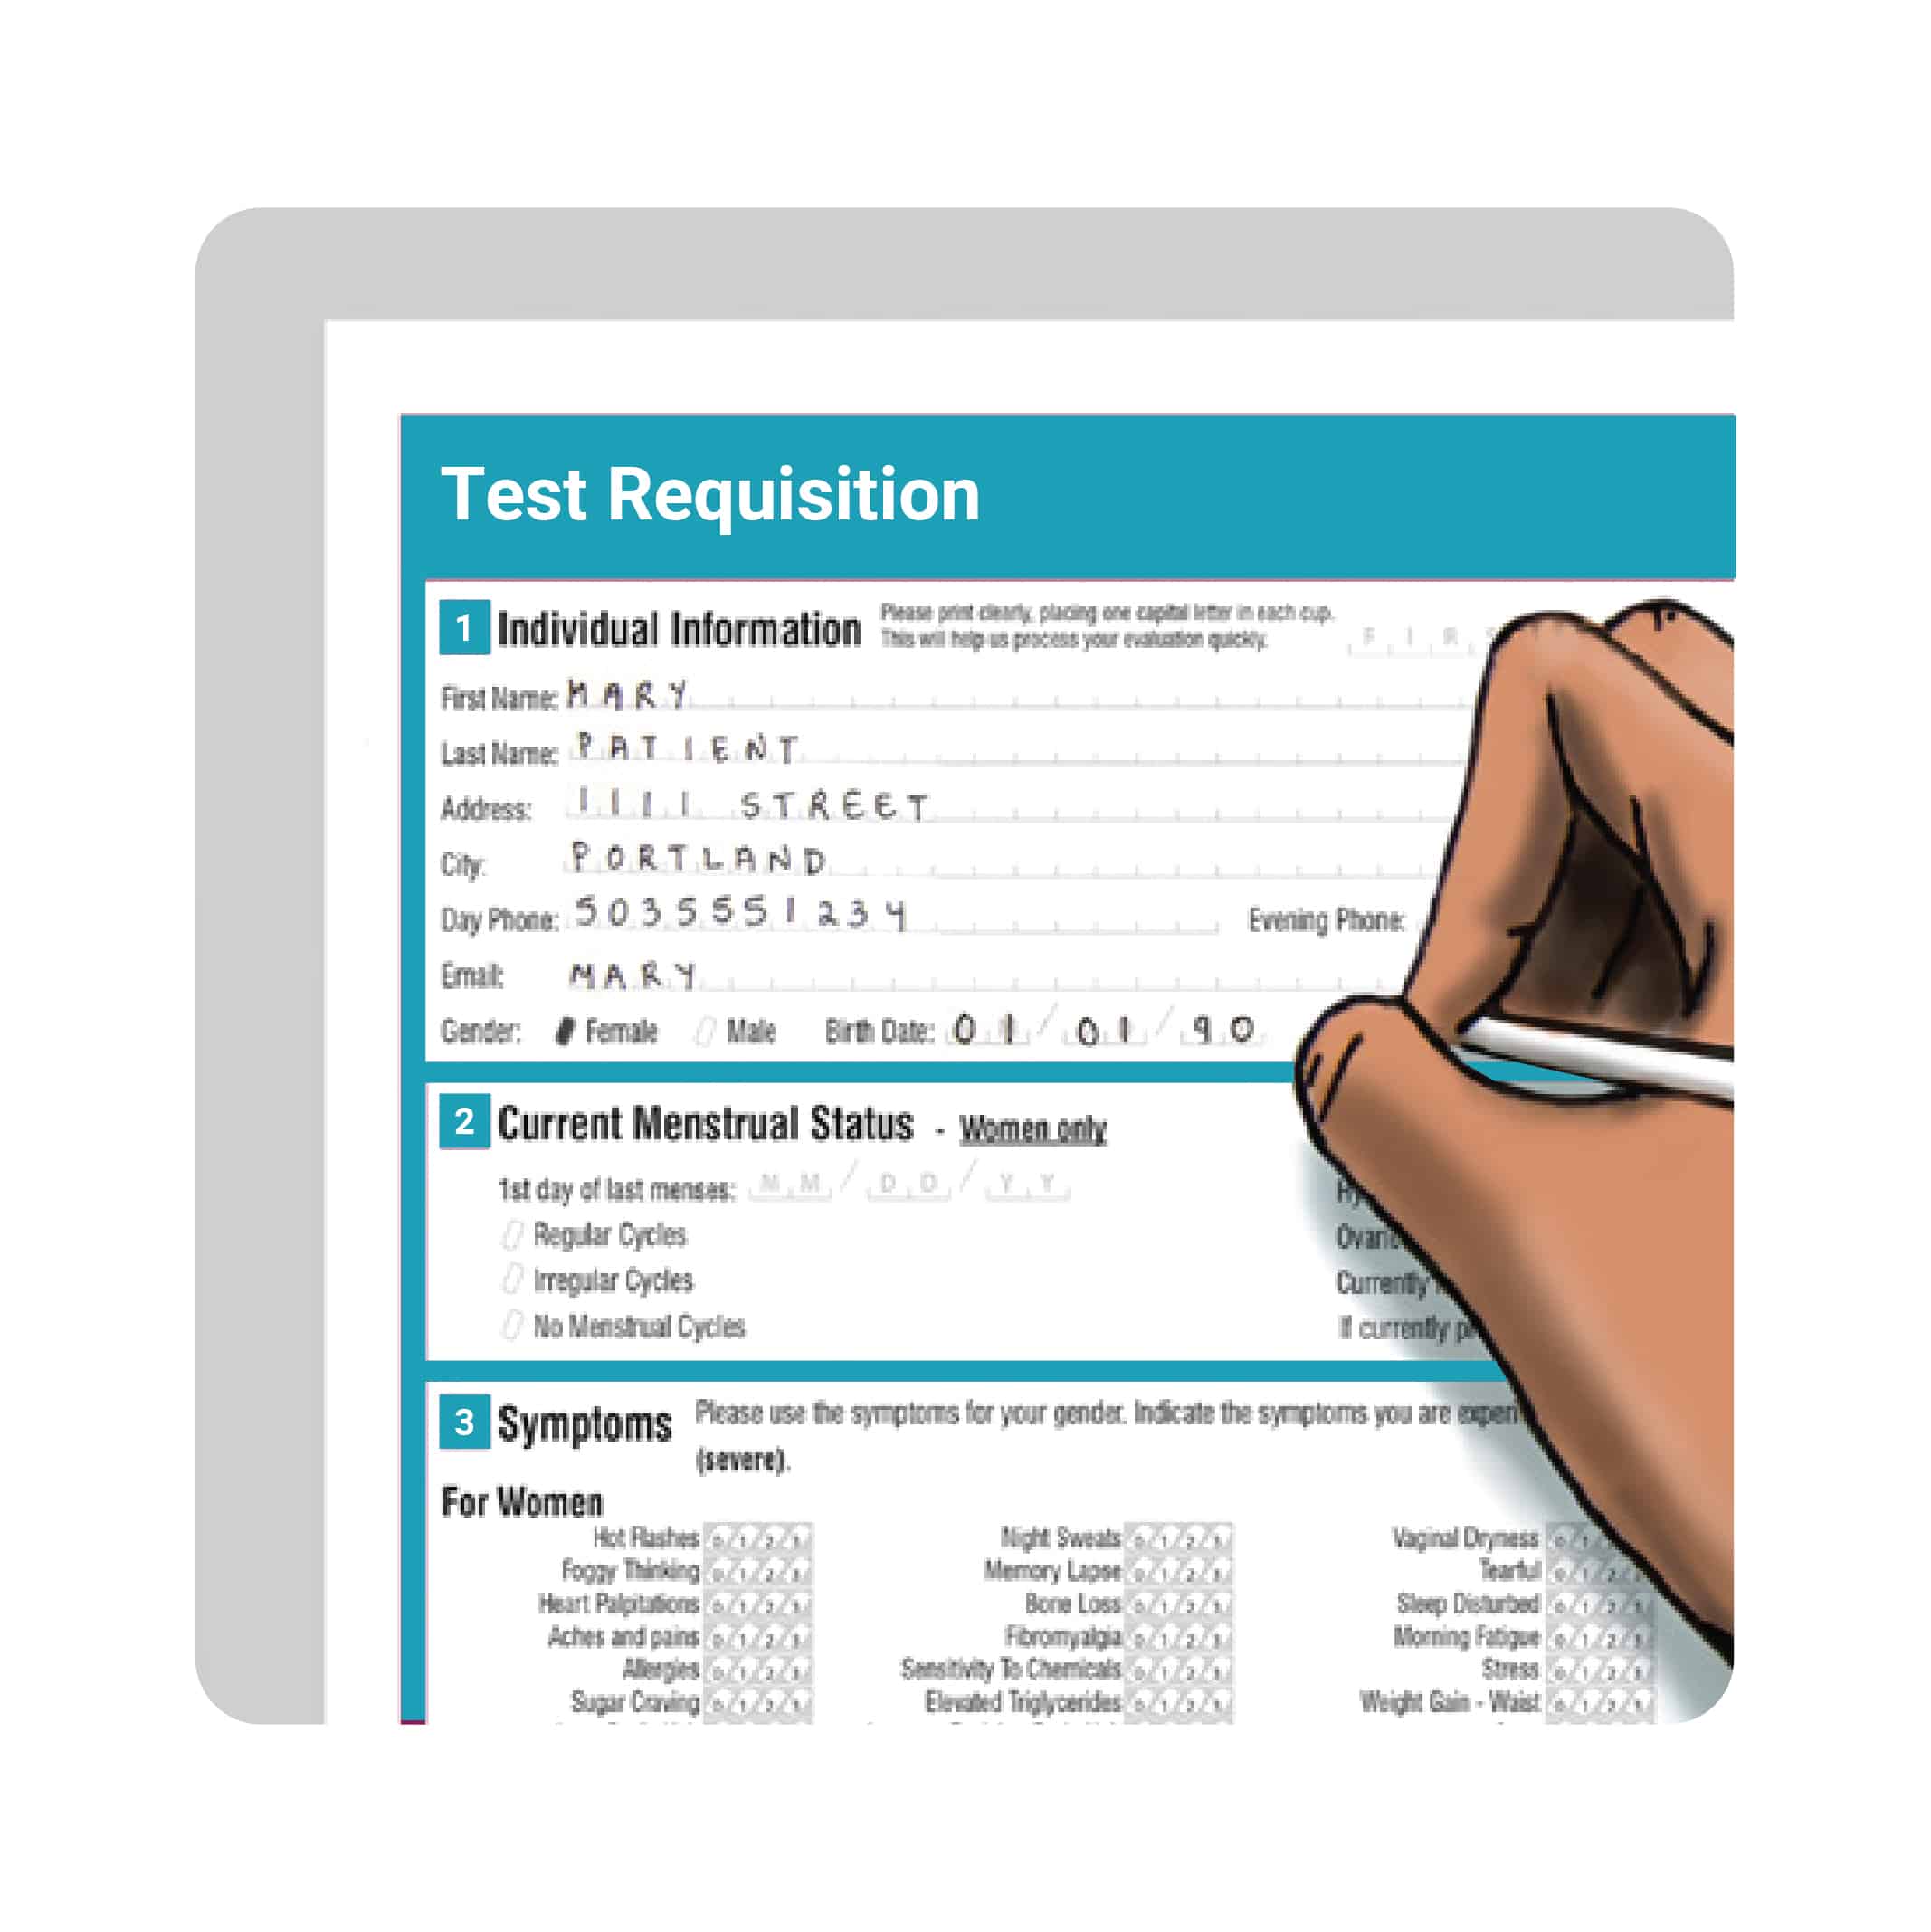
Results are delivered 5-7 days after the lab receives your sample. It includes licensed M.D. recommendations via PDF format using HIPAA and SOK2 compliant encryption. For all Lab Me premium tests, you are able to contact our medical team with any questions you may have about your results for no extra charge.
Note: This is not a diagnostic test and cannot confirm any specific illness or disease. Further testing and medical consultation may be required to determine the cause of abnormal results.
If purchasing for two people, it’s required to create their account to order.
All Lab Me tests are performed by high-complexity CLIA certified and CAP-accredited laboratories.
Getting too much, and sometimes too little, of various elements has consequences for our overall health. Who should consider heavy metals and essential elements testing? Anyone who:
Smokes
Has exposure to private well water or aging pipes
Is concerned about heavy metals in foods like vegetables, rice, and seafood
Has mercury dental work
Lives in an older home or near an industrial area
Has thyroid-related health issues
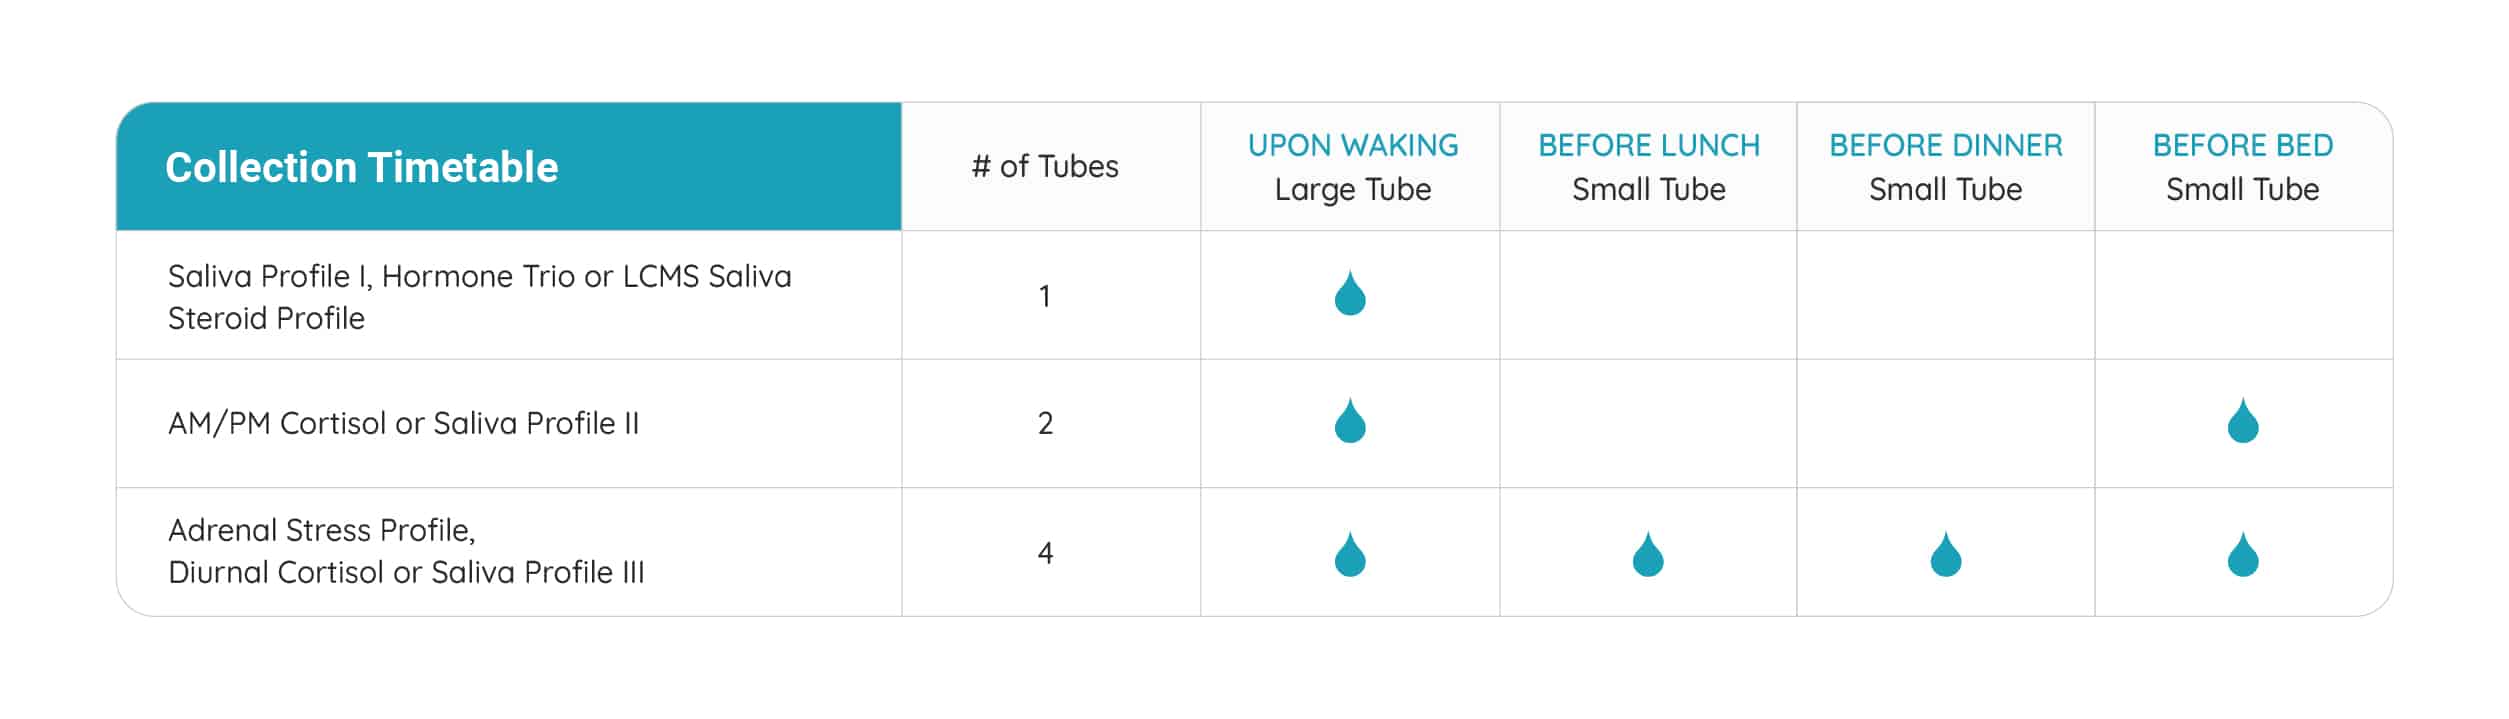
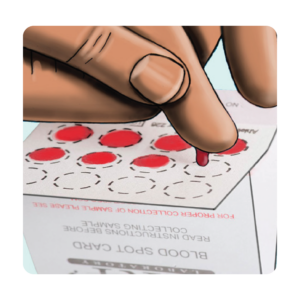
Creatinine is measured in all samples to correct results for urine dilution
Creatinine is measured in all samples to correct results for urine dilution
You get this after contact with a low dose over a long time. As the metal builds up in your body, you can get sick. Symptoms come on slowly and can include:
Drinking water with lead in it can lead to cognitive problems and slower development in kids. Infants who drink formula mixed with tap water are at especially high risk if their drinking water is contaminated.
Lead has been banned from plumbing for years, but it still gets into the water supply from old lines. Some water filters will remove it from your water, but if you’re concerned about the level of lead in your drinking supply, you can request a water test.
Different tests can check for different types of heavy metals. Some might test your blood or pee. Others might require an X-ray. These tests can help your doctor decide if you have heavy metal poisoning, how severe it is, and which heavy metals are involved. They include:
We are all exposed to different amounts of essential and toxic elements depending on where we live, our diet and supplementation routine, and environmental pollution of the air we breathe. Essential elements are only conducive to optimal health when they are within optimal ranges – levels that are too low or too high can have detrimental effects on health – and exposure to toxic heavy metals has multiple adverse health effects.
This comprehensive profile allows a complete assessment of the most important elements implicated in health-related effects, as it includes a measure of both short and long term exposure to all 4 of the most toxic environmental heavy metals, as well as highlighting nutritional element deficiencies earlier than a typical serum test.