Lab Me Logo

At-Home Crucial Thyroid Test

At-Home Crucial Thyroid Test

In Stock • Free Shipping

The Lab Me Crucial At-Home Thyroid Test gives a basic but complete assessment of thyroid health, including screening for hypo or hyperthyroidism, testing for auto-immune thyroid disease, and monitoring thyroid replacement dosage.

What tests are included?
  • TSH (Thyroid Stimulating Hormone),
  • Free T3 (Triiodothyronine),
  • Free T4 (Thyroxine),
  • TPOab (Thyroid Peroxidase Antibody),
Collection Method
$199
Buy Test
9031502004510
Warning: Trying to access array offset on value of type bool in /www/labme_344/public/wp-content/plugins/advanced-custom-fields-pro/includes/api/api-template.php on line 471

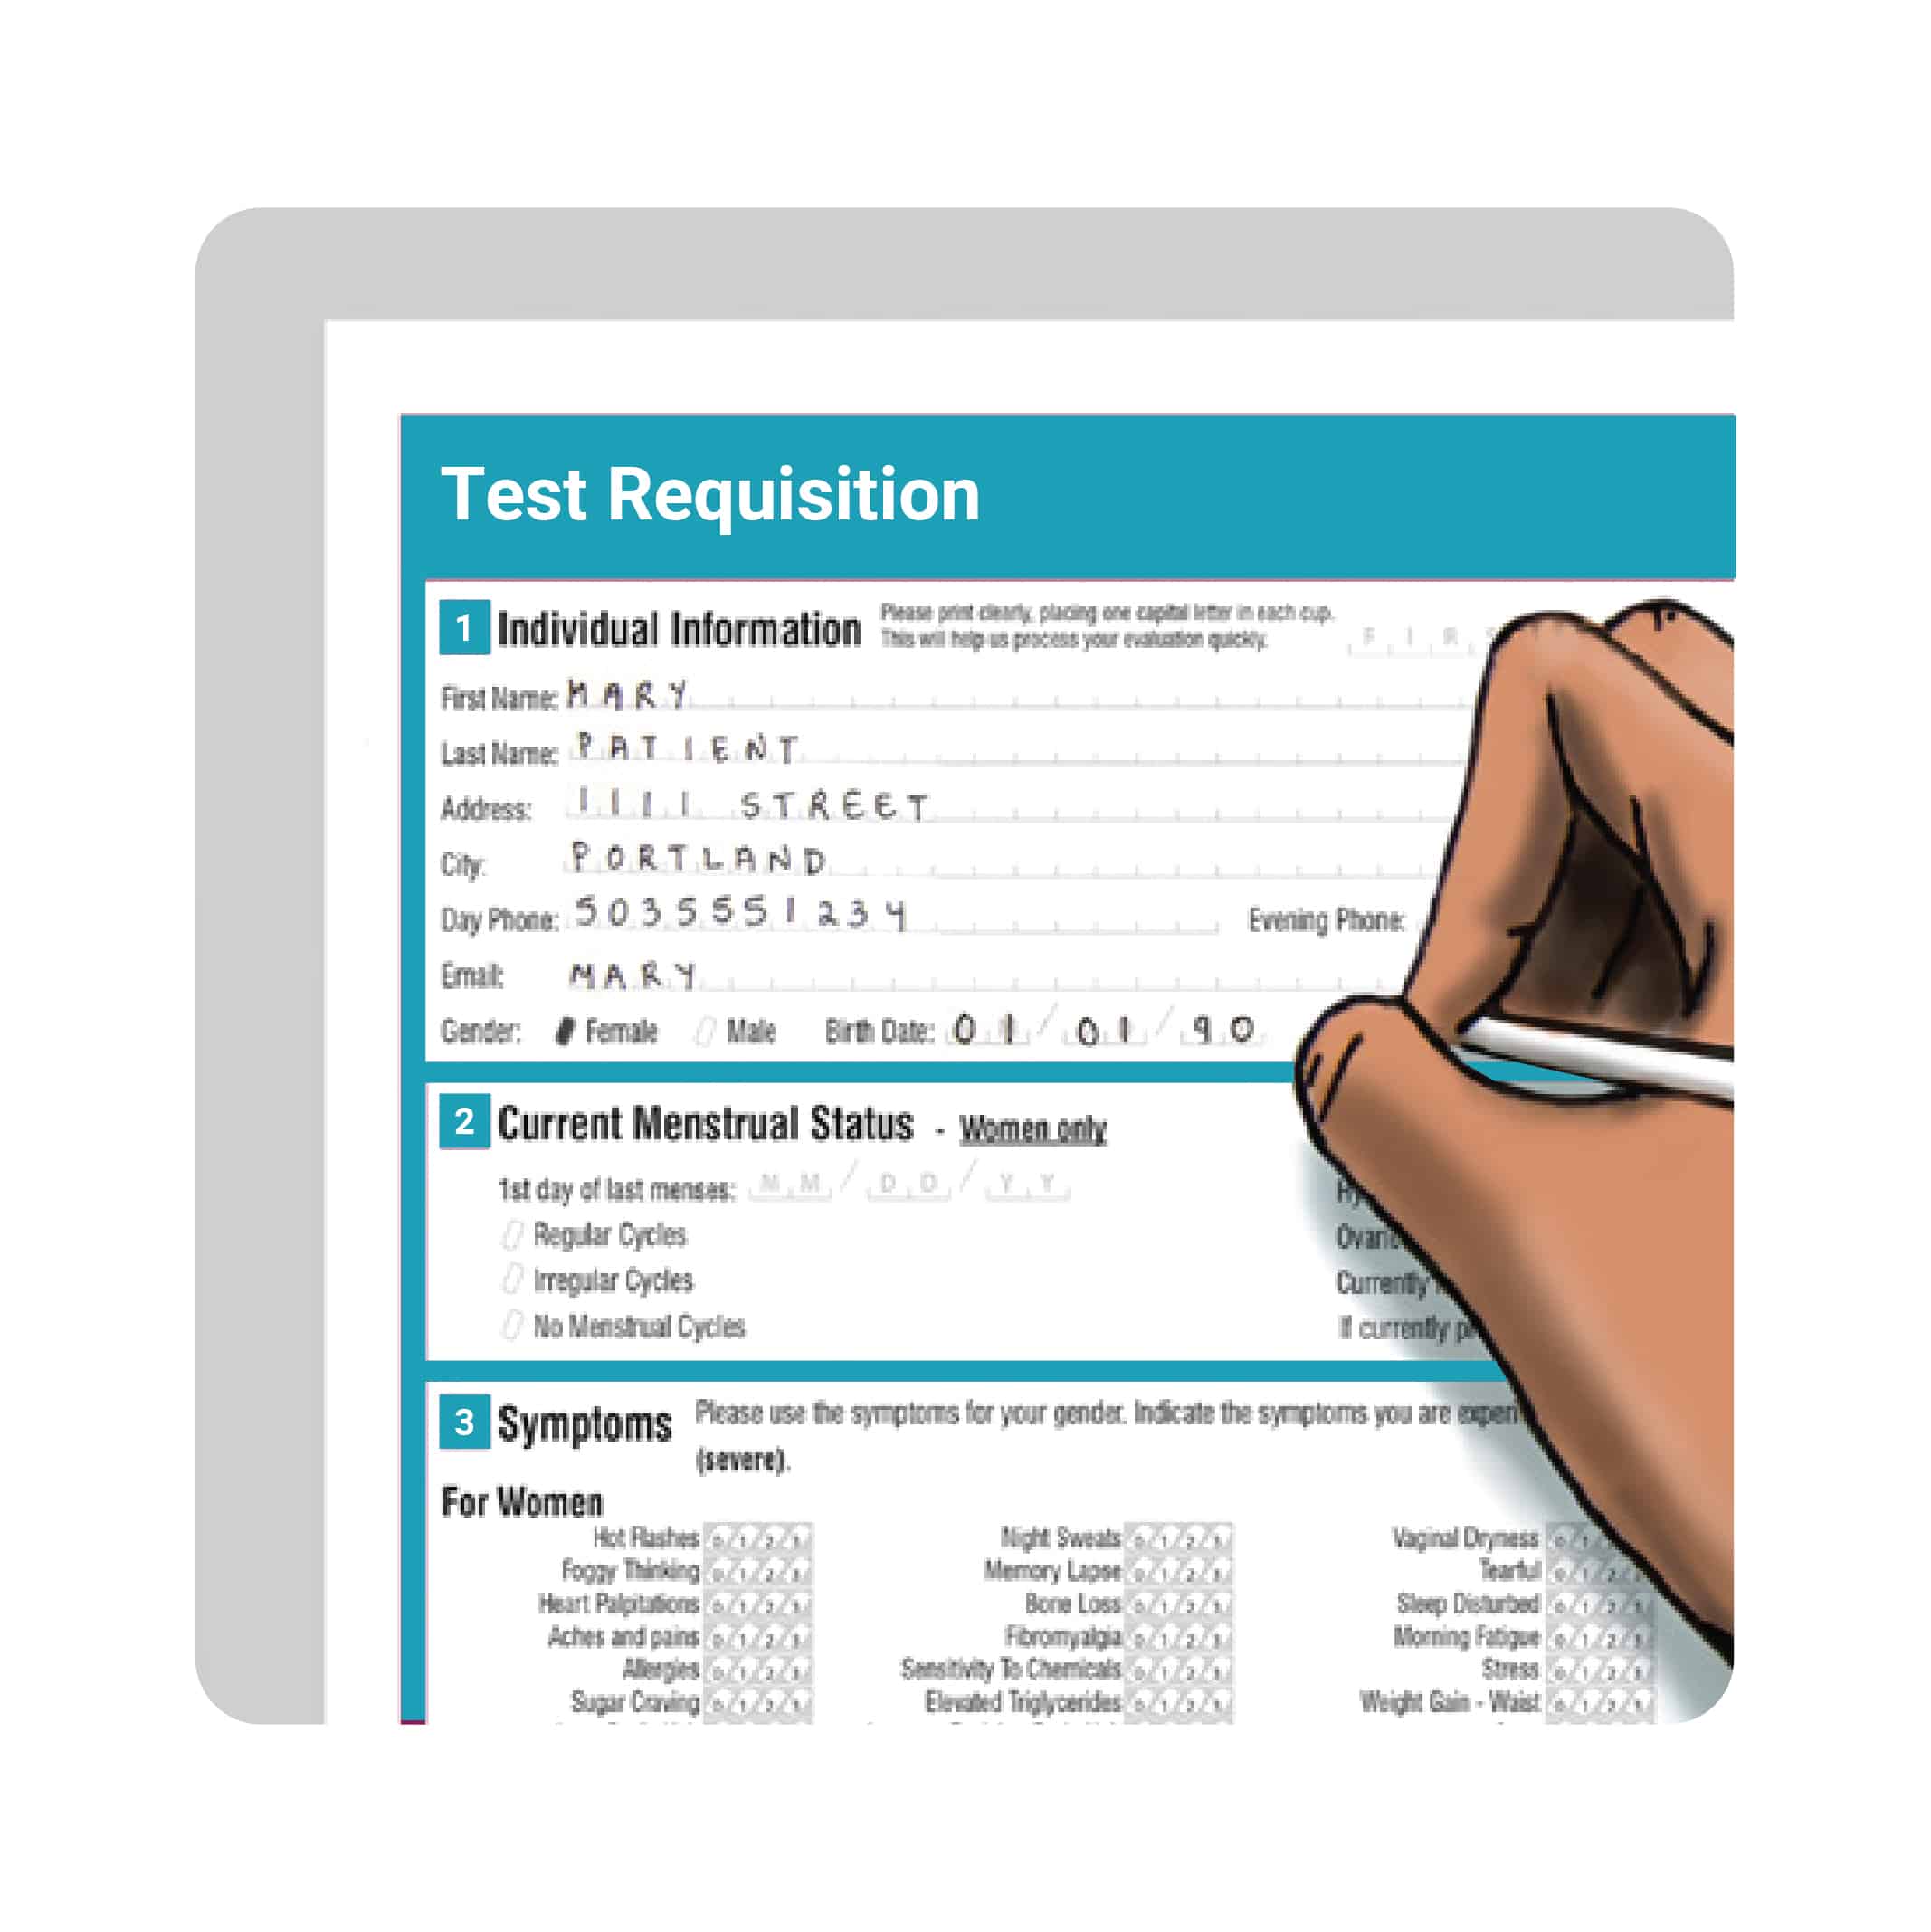
If purchasing for two people, it’s required to create their account to order.

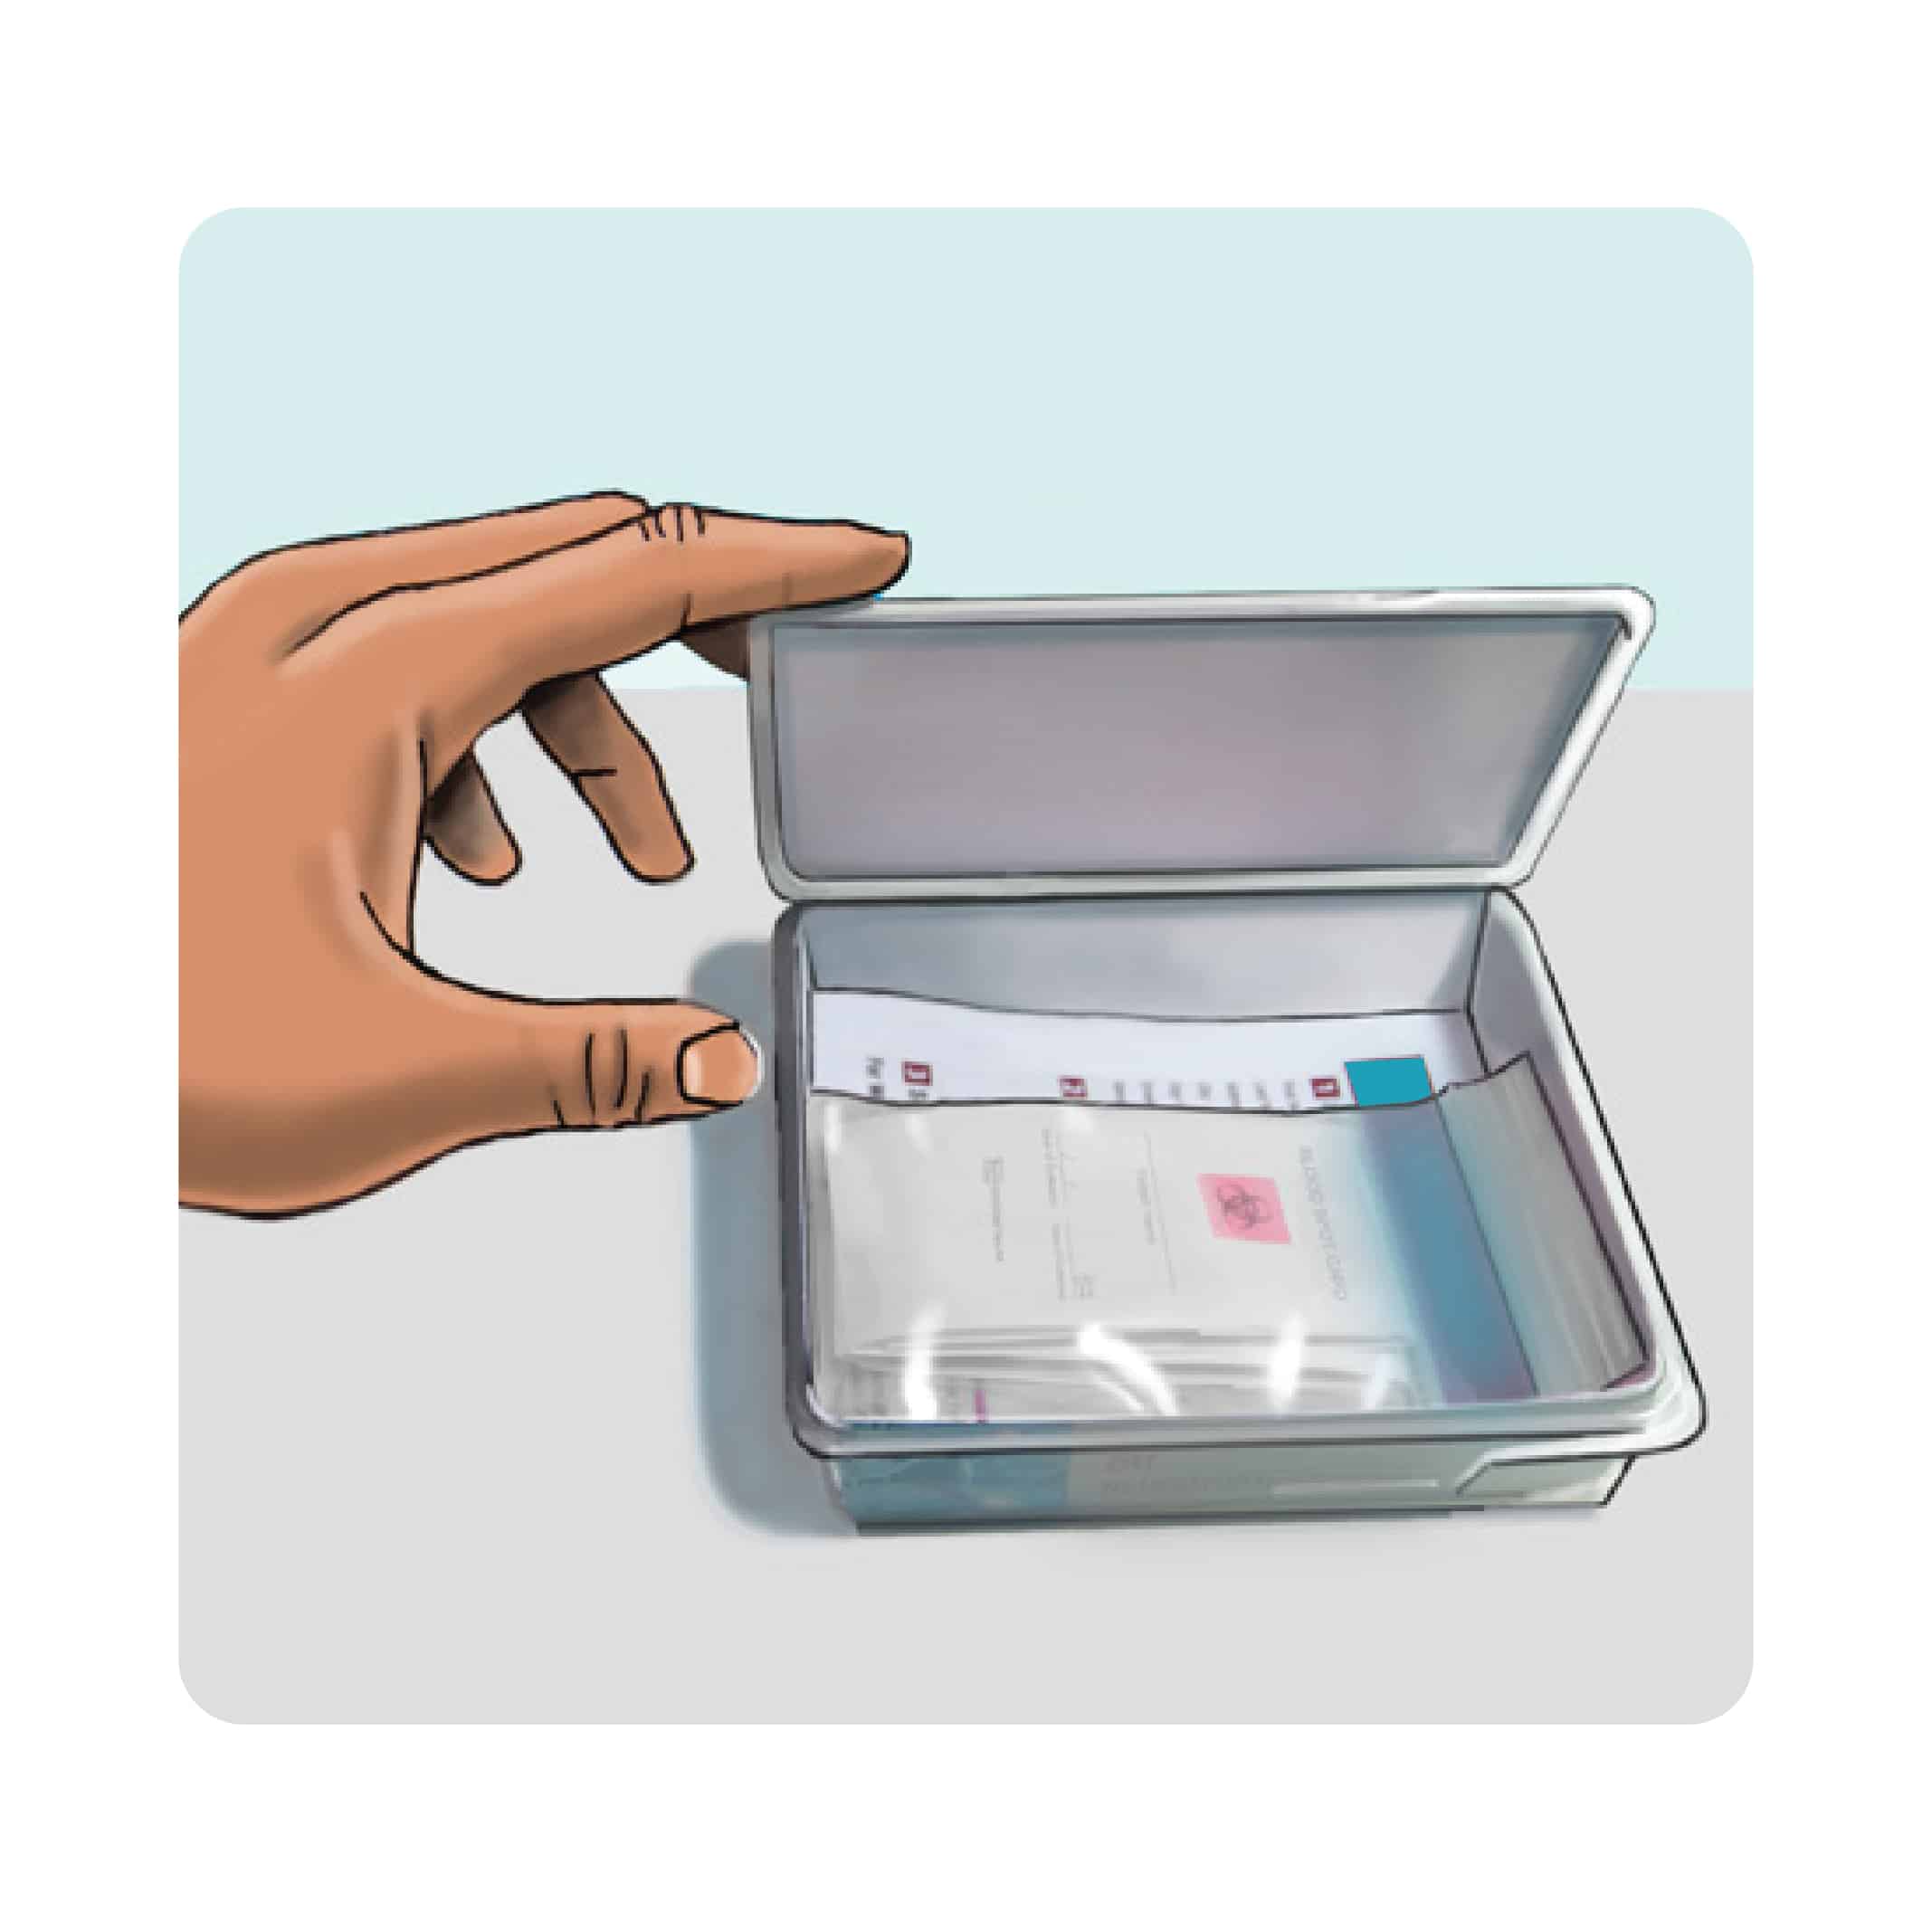
All Lab Me tests are performed by high-complexity CLIA certified and CAP-accredited laboratories.


Premium At-Home Blood Tests From Lab Me

All Premium Test Kits From Lab Me Come In A HIPPA Secure PDF Format With Functional Medicine Physician Reviewed Recommendations. You Are Able To Ask Our Medical Team As Many Questions As You Want Regarding Your Results.

Who Should Consider Taking This At-Home Crucial Thyroid Test ?

Thyroid dysfunction can explain a wide variety of symptoms because of the central role of thyroid hormones in directing the metabolic activity of cells.  The essential thyroid profile accesses the overall thyroid health, which includes checking for hypothyroidism and hyperthyroidism, determines Free T3 and Free T4 levels, monitors dosages for thyroid replacement and tests for autoimmune thyroid disease.

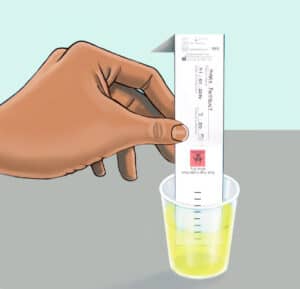
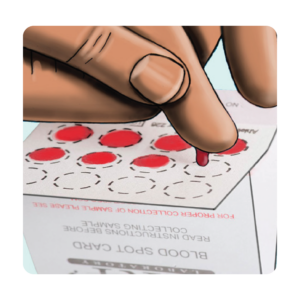
The Crucial At-Home Thyroid Blood Spot Profile includes TSH, Free T4, Free T3, and TPOab.

This profile is not only for those requiring a thyroid screening.  This profile is also used as a routine screening for:   

  • Women trying to get pregnant or who are pregnant
  • Individuals over the age of 50
  • People with other autoimmune disorders, especially those with a history of autoimmune thyroiditis
  • Anyone with a family history of thyroid disorders
  • People, including children, who have Down’s Syndrome
  • People experiencing symptoms of thyroid dysfunction
Symptoms and Reasons to Test
Normal Ranges
Why track?
Should I take the test?
Additional Info

Symptoms and Reasons to Test

The Crucial At-Home Thyroid Test Is Encouraged If You Are Experiencing:

Overactive Thyroid Symptoms

  • nervousness, anxiety and irritability
  • hyperactivity – you may find it hard to stay still and have a lot of nervous energy
  • mood swings
  • difficulty sleeping
  • feeling tired all the time
  • sensitivity to heat
  • muscle weakness
  • diarrhoea
  • needing to pee more often than usual
  • persistent thirst
  • itchiness
  • loss of interest in sex

Underactive Thyroid Symptoms

  • Fatigue
  • Increased sensitivity to cold
  • Constipation
  • Dry skin
  • Weight gain
  • Puffy face
  • Hoarseness
  • Muscle weakness
  • Elevated blood cholesterol level
  • Muscle aches, tenderness and stiffness
  • Pain, stiffness or swelling in your joints
  • Heavier than normal or irregular menstrual periods
  • Thinning hair
  • Slowed heart rate
  • Depression
  • Impaired memory
  • Enlarged thyroid gland (goiter)

Normal Ranges

Crucial At-Home Thyroid Test Ranges (Women & Men)

Free Thyroxine (T4) mg/dL

0.7-2.5

Free Triiodothyronine (fT3) pg/mL

2.4-4.2

Thyroid Peroxidase Antibodies (TPOab) IU/mL

0-150
Borderline: 70-150

Thyroid Stimulating Hormone (TSH) μU/mL

0.5-3.0

Why Track?

Should I Take The Test?

Additional Info

Biomarkers Explained

Hypothyroidism

  • Weight gain or inability to lose weight despite exercise and diet
  • Feeling cold all the time (when others don’t)
  • Low energy and stamina, especially in the evening
  • Memory lapses or slow/fuzzy thinking
  • Dry, thinning, itchy skin
  • Dry or brittle hair and nails
  • Hair loss
  • Irregular bowel habits
  • Menstrual irregularities

Hyperthyroidism

  • Sudden or significant weight loss
  • Rapid or irregular heartbeat
  • Sweating
  • Nervousness or irritability

Biomarkers For Crucial At-Home Thyroid Test Explained

TSH

Produced by the pituitary gland, TSH acts on the thyroid gland to stimulate production of the thyroid hormone thyroxine (T4).

Free T4 – Thyroxine

The predominant hormone produced by the thyroid gland, T4 is converted to its active form, T3, within cells.  For this biomarker please see the Lab Me at-home comprehensive thyroid test.

Total T4 – Thyroxine

Total T4 includes both free T4 and protein-bound T4, and is an indicator of the thyroid gland’s ability to synthesize, process and release T4 into the bloodstream.

Free T3 – Triiodothyronine

T3 is the active thyroid hormone that regulates the metabolic activity of cells.

TPOab – Thyroid Peroxidase Antibodies

Thyroid peroxidase is an enzyme involved in thyroid hormone production. The body produces antibodies, including TPOab, that attack the thyroid gland in autoimmune thyroiditis and Hashimoto’s. Testing TPOab levels can diagnose these conditions.

Tgbn – Thyroglobulin

A protein rich in tyrosine, the residues of which when bound to iodine become the building blocks of T3 and T4. If iodine levels are low, thyroglobulin accumulates, thus high levels indicate insufficient iodine for healthy thyroid function.  For this biomarker please see the Lab Me at-home comprehensive thyroid test.

How to collect your sample

Lab Me’s at home test kits include everything you need for collection and can be ordered online. When your sample has been collected and allowed to dry completely, return the dried strips and completed paperwork in the pre-addressed, pre-paid packaging and mailer bag provided with the kit. Once Lab Me has received your sample, results will be returned to you and/or your health care provider in approximately 5 to 7 business days.
Urine
Saliva
Finger Prick

Urine Collection

STEP ONE

Good Practice

  1. At each collection time: Remove a collection card from the pink bag.
  2. Save this bag with the absorvent puch. Write your name, the date and time of collection on the card prior to collecting the sample.
STEP TWO

Set Up To Collect

  1. Open the cover on the collection card. Fold it back and away from the filter paper. Avoid touching the filter paper
  2. Saturate the filter paper by directly urinating onto it, or by collecting your urine in a clean cup and dipping the filter paper up to the top black dash line
STEP THREE

Dry Sample

  1. Soak your non-dominant hand in warm water for 1-2 minutes. Dry it well. It's important your hands are warm
  2. Wipe the little finger of your non-dominant hand with the alcohol swab and let it dry
  3. The best place to use the lancet is on the outer center of your fingertip
STEP FOUR

After Collection

  1. Allow to dry completely for at least 6 hours*. 
  2. Once dry, refold the collection card and place the sample back into the baggie and seal. 
  3. Make sure absorvent puch is still inside. 
  4. Follow the same process for the remaining three samples. 
STEP FIVE

Finishing Up

  1. Complete all paperwork. Make sure all sections are filled in and your form is signed
  2. Place the sample(s), the Test Requisition form and any additional paperwork back into the plastic test kit box
  3. Make sure to include payment (if applicable)
  4. Snap test kit lid shut
  5. Place the entire test kit box inside the return packaging
  6. Affix the prepaid label or postage if applicable
  7. Return using the appropriate carrier
  8. Samples will remain stable under average shipping conditions, including over weekends and holidays

Urine Collection PDF Version

Download our pdf version for compact version

Saliva Collection

STEP ONE

Good Practice

  1. Begin collecting your first saliva sample into the large tube within 30 minutes of waking for the day.
  2. Wash hands with soap and water
  3. Rinse your mouth with water
  4. Wait 5 minutes before beginning collection
STEP TWO

Fill Collection Device

  1. Allow saliva to pool in mouth, then transfer to tube
  2. Fill tube at least half full, not including bubbles
  3. Collection usually takes 15-30 minutes depending on saliva flow
  4. When done, cap the tube
STEP THREE

Complete

  1. Write your name, the date and time of collection on the tube
  2. Place the tube back into the bag
STEP FOUR

Repeat The Process

  1. Repeat this process for any other collection times using the smaller tubes provided
  2. Do not eat, drink (except water) or brush teeth at least 2 hours prior to collections
STEP FIVE

Finishing Up

  1. Complete all paperwork. Make sure all sections are filled in and your form is signed
  2. Place the sample(s), the Test Requisition form and any additional paperwork back into the plastic test kit box
  3. Make sure to include payment (if applicable)
  4. Snap test kit lid shut
  5. Place the entire test kit box inside the return packaging
  6. Affix the prepaid label or postage if applicable
  7. Return using the appropriate carrier
  8. Samples will remain stable under average shipping conditions, including over weekends and holidays

Saliva Colletion PDF Version

Download our pdf version for compact version

Blood Collection

STEP ONE

Good Practice

  1. Collect blood sample within 1 hour of waking.
  2. Wash hand with soap and water.
  3. Use a clean towel to dry hands.
  4. Make sure hands are warm and circulation is going.
  5. Write your name, the date and time of collection on the card prior to collecting.
STEP TWO

Preparation

  1. Open the cover on the collection card.
  2. Fold it back and away from the filter paper.
  3. Avoid touching the filter paper.
  4. Tape card to a flat surface (table).
  5. Below heart at about waist level.
  6. Open the alcohol prep pad and sterile gauze.
  7. Middle or ring finger of non-dominant hand is recommended.
STEP THREE

To Collect

  1. Wipe finger with alcohol prep pad and allow to air dry.
  2. Twist cap off lancet and press small white section firmly against the side of finger pad until lancet clicks.
  3. Wipe away the first blood drop with gauze.
STEP FOUR

Collection

  1. Position finger over circle of blood spot card and gently milk (don’t squeeze) blood from the finger.
  2. Collect so that your hand is below your waist, allowing gravity to assist with blood flow.
  3. As blood drop forms and is ready to fall, touch the drop onto the center of the circle (one drop per circle).
  4. Continue collection, preferably until all circles have been filled – but it’s more important to have several good sized spots than to fill all the circles.
  5. When finished, apply bandages.
  6. Leave blood spot card open to dry – minimum 4 hours.
  7. Once somple is dry, close cover. Store card in a cool, dry location away from direct sunlight until it’s shipped.
STEP FIVE

Finishing Up

  1. Complete all paperwork. Make sure all sections are filled in and your form is signed.
  2. Place the sample, the Test Requisition form and any additional paperwork back into the plastic test kit box. Make sure to include payment (if applicable).
  3. Snap the kit lid shut.
  4. Place the entire test kit box inside the return packaging.
  5. Affix the prepaid label or postage if applicable. 
  6. Return using the appropriate carrier.
  7. Samples will remain stable under average shipping conditions, including over weekends and holidays.

Blood Collection PDF Version

Download our pdf version for compact version

This Is How

Lab Me Works

1

Get Your Lab Me Kit

Order online and choose how often you’d like a test. We’ll mail your kit and it’ll be in your hands within only a few days.

2

Perform Your Test

Your kit contains everything you need to test from home. When you’re done, use the pre-paid envelope to send it back

3

Rapid, Accurate Results

Once we receive the test and process it, the results will be on your dashboard within 48 hours.

Still not sure or confused?​

Our 24/7 Customer service ready to help you
CONTACT US
magnifiermenuquestion-circlearrow-right-circle